How To Build Rustic Picture Frames Using Reclaimed Wood
There’s something special about making things yourself. Especially when it’s going to be a focal point in your home. At Manomin Resawn Timbers, we love all things reclaimed wood, and we love DIY projects too! In today’s post, we’ll give you everything you need to create your own rustic reclaimed wood picture frames. Determine the Style You Want Your Picture Frame to Be You

By Sarah Londerville | Updated June 2, 2022
There's something special about making things yourself. Especially when it's going to be a focal point in your home. At Manomin Resawn Timbers, we love all things reclaimed wood, and we love DIY projects too!
In today's post, we'll give you everything you need to create your own rustic reclaimed wood picture frames.
Determine the Style You Want Your Picture Frame to Be
You probably have lots of inspiration for rustic picture frames just scrolling through Pinterest. But before you get started, take a minute to think about what look you're going for.
Do you want the natural beauty of the wood to be the star, or are you looking for something with more character? Maybe you want to go for a traditional rustic frame with lots of distressing or a more modern approach with clean lines?
Once you've determined the style, it will be easier to pick out the right reclaimed wood for your frame. Colors will also make a big difference and change the type of reclaimed wood that you purchase.
How Large Will It Be?
When you know what style you're going for, it's time to determine how large your picture frames need to be. This is essential because you'll need to know how much wood will be required to create the frame.
Keep in mind that when working with rustic materials, it's always best to go a little bit bigger than you think you need. That way, you can make up for mistakes or use specific parts of the wood that fit your style better.
Are You Making More Than One?
Lastly, if you're making more than one picture frame, you'll need to consider how they will all look together. This is important because you'll want to make sure that the frames complement each other and don't clash.
Pro Tip: If you're making rustic picture frames for a gallery wall, remember that odd numbers always look best. So unless you're going for a symmetrical design, stick to an odd number of frames.
Gather the Materials You Need
By measuring the width and length of the pictures your framing, you should have a good idea of how much material you'll need (plan for 10% extra as a general rule). Now it's time to gather the materials you'll need to get started.
Types of Wood You Can Use
Purchasing reclaimed wood is by far the easiest way to make rustic picture frames, but if you're not able to find what you need locally, there are a few other types of wood that will work.
- Pine: Pine is a softwood which makes it easy to work with, but it can also be quite knotty.
- Cedar: Cedar is another softwood that has a nice reddish hue.
- Mahogany: Mahogany is a hardwood that has a reddish-brown color and is quite expensive.
- Walnut: Walnut is also hardwood and has a deep chocolate brown color.
- Oak: Oak is a hardwood that has a light brown color and is very common.
- Maple: Maple is a hardwood with a creamy white color.
You can also choose to reclaim wood yourself by finding old barns, fences, or other buildings that are being torn down. Just be sure to get the wood early enough, so it has plenty of time to dry out before you start working with it.
For more details on how to reclaim wood on your own, check out this video.
https://www.youtube.com/watch?v=U4FiMlpGuvU
Gather the Tools You Need
Now that you have your wood, it's time to gather the tools you'll need to get started.
- Saw: You'll need a saw to cut the wood down to size. If you're using reclaimed wood, a hand saw will work just fine, but if you're working with new lumber, a power saw will make the job much easier.
- Hammer: A hammer is essential for driving the nails into the wood.
- Chisel: A chisel can be helpful for removing any excess wood or creating a more rustic look.
- Drill: A drill will come in handy for making pilot holes before nailing.
- Square: A square is great for making sure your cuts are straight.
- Tape Measure: A tape measure is necessary for measuring the wood and determining the size of your frame.
- Sandpaper: You'll need sandpaper to smooth out any rough edges on the wood.
- Stain: You can use any type of stain to give your frames a rustic look.
- Varnish: A coat of varnish will help protect your frame from the elements.
- Paint: If you're not a fan of stains, you can also paint your frames with a variety of colors.
- Paint Brush: A good quality paintbrush is necessary for painting your frames.
Steps to Building a Rustic Reclaimed Wood Picture Frame
Now that you have all the materials and tools you need, it's time to start building your rustic reclaimed wood picture frames. Just follow these simple steps:
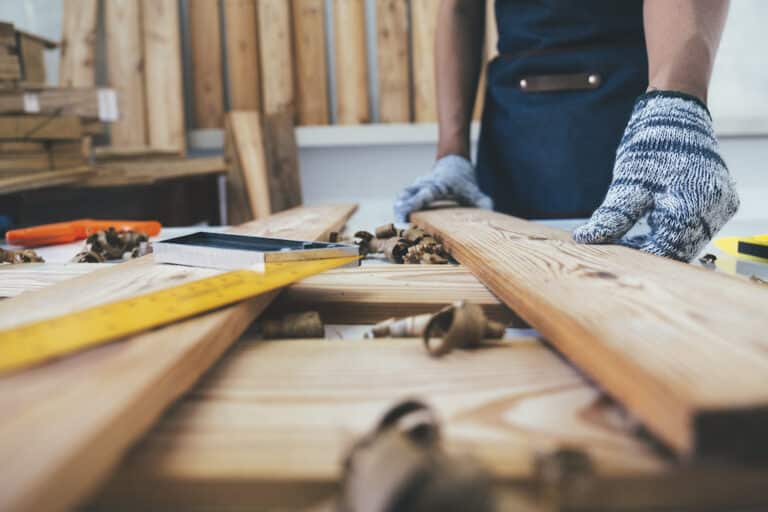
Step One: Cut the Wood to Size ?
Using a saw, cut the wood down to size according to the measurements of your pictures. Be sure that the wood is ready to work with; removing nails and other metals is essential before you can get started.
If you're unsure of what size to cut the wood to, check out this helpful guide.
Step Two: Create the Frame ?
After you have the frame pieces cut to size, you can start putting them together.
Using your drill, create pilot holes at each corner of the frame. Then, using a hammer and nails, attach the pieces of wood together to create a frame. Alternatively, you could screw the frame together or skip the pilot holes and glue it together. The challenge of glue is getting a good firm grip. Take your time and make sure this part is done right.
https://youtu.be/n-ikCVzJkoA
Step Three: Add the Hanging Mechanism ?
Whether it's a wire, sawtooth hanger, or something else, now is the time to add the hanging mechanism to the back of your frame. Keep in mind larger frames might be heavy, so be sure that you have them well attached.
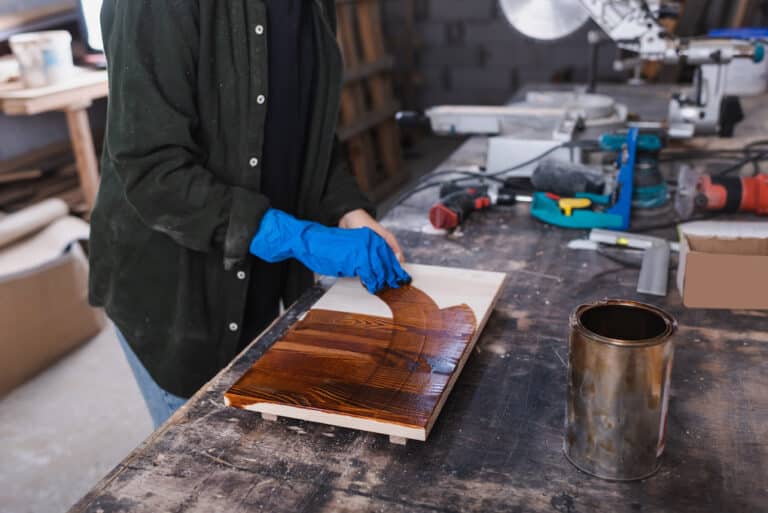
Step Four: Stain or Paint the Frame ?
Finally, you'll be able to stain or paint the frame. This step is entirely optional–you only need to stain and paint the frame if you want to give it a more finished look. When you're looking for a more rustic frame leaving the wood at its natural state probably isn't a bad idea.
Step Five: Hang It Up and Enjoy ?
All that's left to do is find the perfect spot for your work of art. Hanging your new frame up in just the right spot will make for a great conversation piece and give you the opportunity to talk with friends and family about how you built it.
DIY Reclaimed Wood Tips for Every Project
If you're looking for more DIY reclaimed wood tips be sure to head on over to our blog. And, if you find yourself in need of reclaimed wood for your project, be sure to reach out!
We'd love to lend a helping hand and fulfill all your reclaimed wood needs.
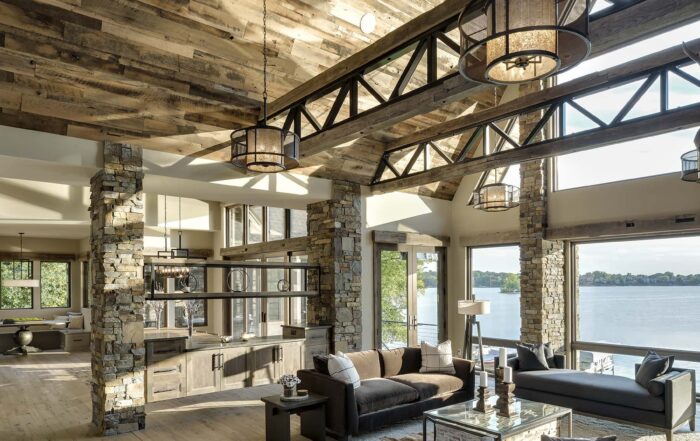
The Best Wood Flooring: 5 Reasons to Choose Reclaimed Wood
There’s a certain feeling you get when you walk into a home that instantly feels warm, grounded, and real. Not staged. Not overly polished. Just right. Often, that feeling starts underfoot.
Reclaimed wood flooring has a way of making a space feel lived-in from day one, […]
