How To Install Reclaimed Wood Floating Shelves (Step-by-Step Guide)
Reclaimed wood can make for beautiful shelving, and floating shelves are a great addition to almost any room in your home. Whether you’d like to have a bookshelf or a new place to show off decor, reclaimed wood floating shelves can be perfect. To install bookshelves, you’re first going to need to build them. We’ll walk you through each step, from procurement of the
By Sarah Londerville | Updated April 1, 2022
Reclaimed wood can make for beautiful shelving, and floating shelves are a great addition to almost any room in your home. Whether you'd like to have a bookshelf or a new place to show off decor, reclaimed wood floating shelves can be perfect.
To install bookshelves, you're first going to need to build them. We'll walk you through each step, from procurement of the lumber to installing the shelves on your wall.
Materials You'll Need
To complete this project, you're obviously going to need reclaimed wood and a few screws to hang it up, right? Well, yes, and no. A bit more goes into putting these shelves up and constructing them.
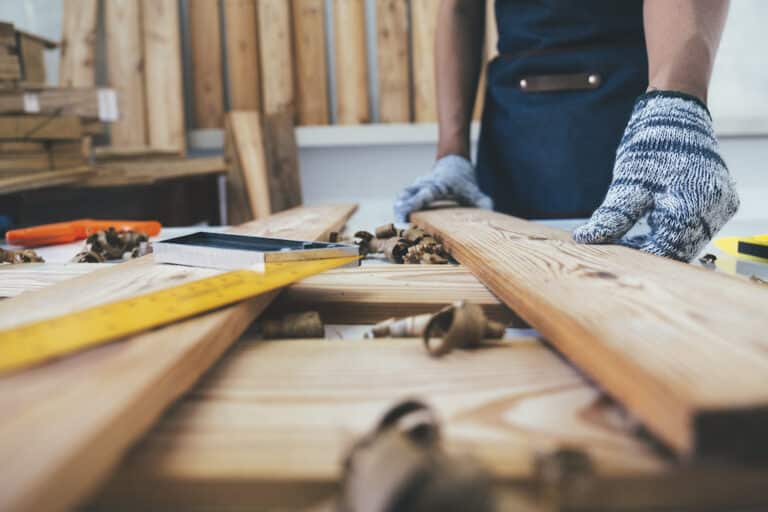
1) Reclaimed Wood
First on the list is reclaimed wood. Finding real slabs of reclaimed wood isn't really easy. Even as a reclaimed wood dealer, one of the least common items to come through our doors are sheets of wood. But, with that in mind, there are types of wood you can use.
Panels and flooring pieces can also work in place of one solid sheet. Explore your options depending on how large a shelf you're looking to build.

2) Virgin Lumber
You'll also need virgin lumber, likely in the form of 2x4s. These boards will be used to build the frame of your shelf, but they won't be seen. The reclaimed wood will be used over them to provide you with a rustic-looking shelf.
You might be asking yourself at this point–can't I just use reclaimed wood for the entire shelf?
Of course, you can! But, using virgin lumber for the frame is much more cost-effective.
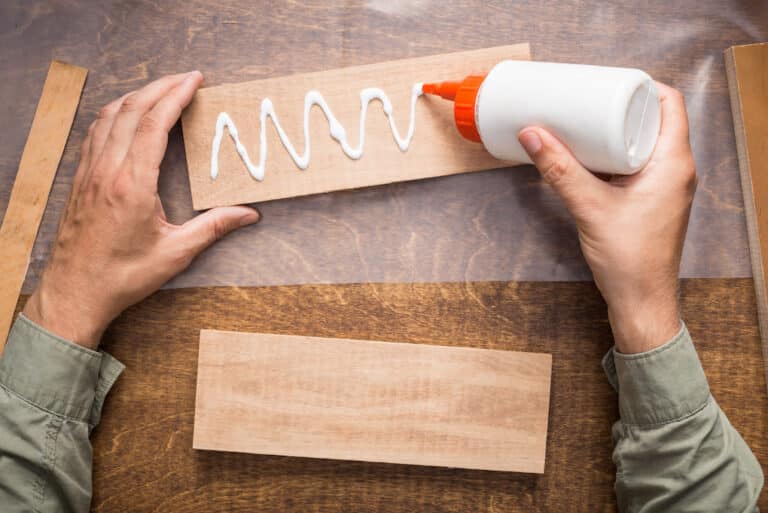
3) Wood Glue
To complete the project, you'll need wood glue! We like using wood glue everywhere. Then use a screw to help keep everything connected and free from any breaks or flaws in the future.
4) Varnish or Paint
Most homeowners or business owners want to keep their reclaimed wood products free from any varnish or paint to maintain the rustic look. But, there's a time and place for using varnish and paint to bring out the best wood.
Tools to Have on Hand
Now that we have a good list of materials for the floating shelves project, it's time to get the tools needed.
- Drill/Driver
- Jigsaw
- Circular Saw
- Square
- Level
- Chisel (or a Flat Head Screwdriver)
- Hammer
- Nails
- Screws
- Paintbrush
- Sandpaper
- Stud finder
Optional for the more experienced DIY'er:
- Air compressor
- Finishing nailer
You'll likely not need all of these tools to put together your floating shelves, but it's good to have them on hand if you run into any hiccups throughout the project.
https://www.youtube.com/watch?v=Q_Wyzk2VPtE&t=145s
Building the Shelves: Step-by-Step
Now that you have all the materials needed and the proper tools on hand, it's time to start building!
The first step is measuring the places where you want the shelves to go. This can help you determine how large the shelves will be and what lengths you need to cut down the wood.
1) Cut Your Frame Pieces to Size
Once you've measured, it's time to start cutting the lumber for the shelf frame. This is where your circular saw or miter saw will come in handy. Cut two pieces of virgin lumber at 12" long and set them aside (you'll use these later).
Then you can cut two pieces at the length you want your shelves to be. Wait to cut your reclaimed wood until the next section. If your shelves are spanning more than 3 feet, you'll want another 12" piece for each foot longer than 3 feet.
https://youtu.be/43yMzyd1U1w
2) Build the Frame
Now that your frame pieces are cut, it's time to put them together. Two of the 12" boards will be used at the ends of your frame. Attach them to the full-length pieces using wood glue and finishing nails or screws. Make sure the frame is square before attaching anything!
Place your extra 12" boards every foot for longer shelves to offer extra support.
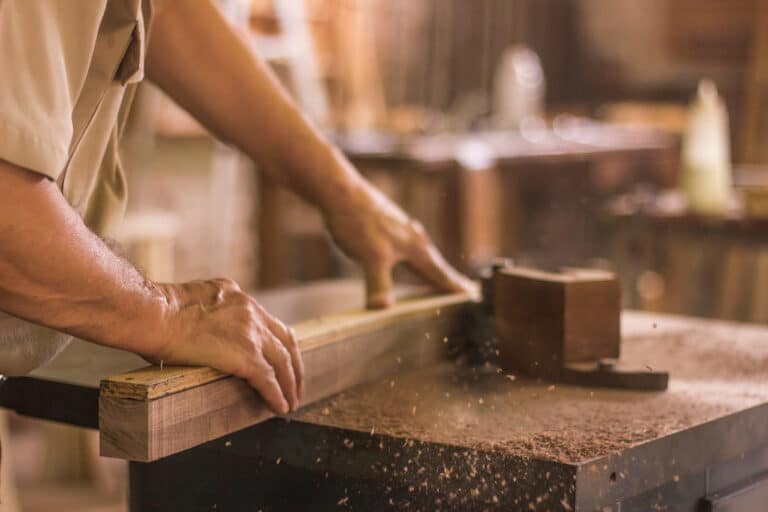
3) Cut Reclaimed Wood to Size
Now you can start cutting down your reclaimed wood to size. If you're using panels or flooring, make sure they fit snugly on the frame you just built! It's essential that everything goes together easily.
If you're using one large reclaimed wood sheet, make sure to cut it down to size so that there are no gaps between the wood and the frame. You can use a jigsaw for this, or even a hand saw if you're careful!
4) Secure Reclaimed Wood to the Frame
Once your reclaimed wood is cut to size, use a hammer and nails (or screws) to attach it to the frame. Make sure everything is secured well. The edges of the frame will need to have smaller reclaimed wood pieces placed over them.
You can use a chisel or a flat head screwdriver to make small notches in the reclaimed wood so that it fits snugly over the frame.
5) Install the Shelves by Attaching Them to the Wall
You'll need to find the wall studs in the wall that you're attaching the shelves to for the most sturdy install. You can use a stud finder to locate those studs with precision. Here are the steps to follow for installation:
- Locate the studs that you'll be attaching the shelves to.
- Measure up from the ground to the desired height of your shelf (four or five feet off the ground is recommended).
- Create a straight line on the wall using a level. This helps to ensure the shelf is attached squarely.
- With the help of another person, hold the shelf up against the wall and screw through the frame to attach it to the studs successfully.
- One screw in at least 2-4 studs, depending on the size of your shelf, should be perfect.
- Be mindful that your screws are long enough and large enough to handle the weight of the shelf and anything you place on it.
https://youtu.be/aHIK8U844wE
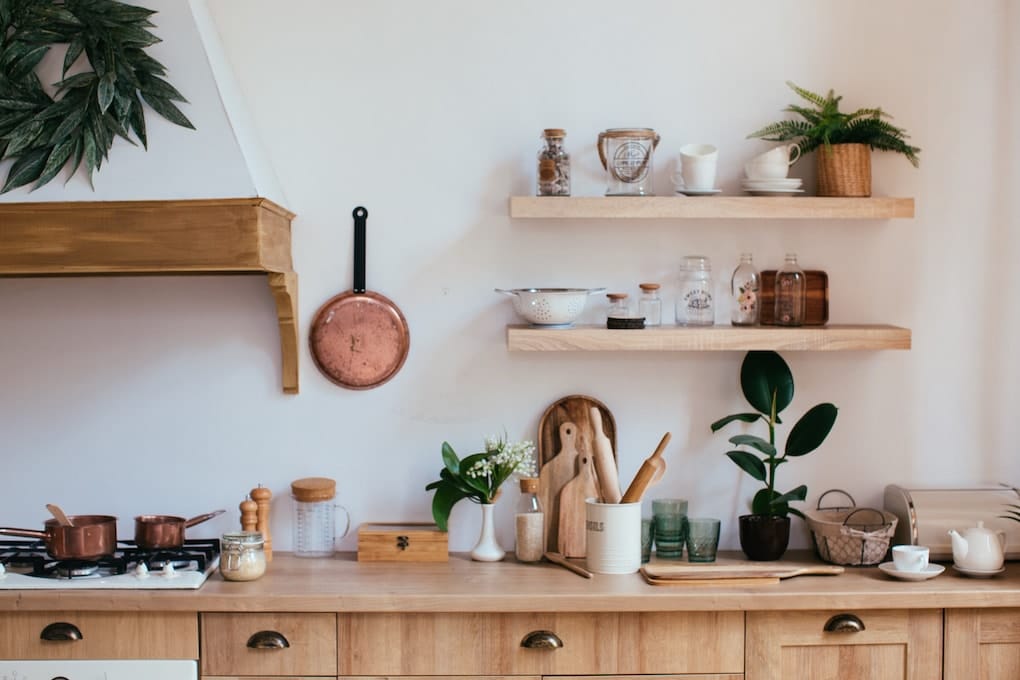
6) Enjoy Your New Shelf!
You've done it! Now it's time to style your new reclaimed wood floating shelf and enjoy it for years to come.
Make sure you use reclaimed wood that is properly sealed so that it lasts forever! You can also finish the shelves with a stain or paint if you'd like them to match your existing style better.
Purchase the Right Reclaimed Wood for Your Project
When reclaimed wood is used in a DIY project, it's important to select the right type of reclaimed wood for the job. Different types of reclaimed wood have different features and benefits that make them better suited for certain tasks.
To get the perfect wood for your next project, contact Manomin Resawn Timbers! We'll be happy to provide you with anything you need.
The Best Wood Flooring: 5 Reasons to Choose Reclaimed Wood
There’s a certain feeling you get when you walk into a home that instantly feels warm, grounded, and real. Not staged. Not overly polished. Just right. Often, that feeling starts underfoot.
Reclaimed wood flooring has a way of making a space feel lived-in from day one, […]
