How to Install Reclaimed Wood Flooring
MR Timbers doesn’t install the reclaimed lumber that we sell, but that doesn’t mean we hold out on you at all. Today we’ll be sharing “how to install reclaimed wood flooring.” The different practices that we’ve learned over the years will help you install your reclaimed wood flooring without any problems— things like: Choosing the right boards for flooring Arranging the boards in a

By Sarah Londerville | Updated July 22, 2022
MR Timbers doesn’t install the reclaimed lumber that we sell, but that doesn’t mean we hold out on you at all. Today we’ll be sharing “how to install reclaimed wood flooring.” The different practices that we’ve learned over the years will help you install your reclaimed wood flooring without any problems— things like:
- Choosing the right boards for flooring
- Arranging the boards in a pattern
- The proper nails and adhesives
- And proper installation technique
Please take note that installing reclaimed wood flooring is not a simple process. We often recommend that you reach out to a professional flooring company if you have never installed flooring on your own.
But, without further ado, here is our how to install reclaimed wood flooring guide.
Expectations for Your Flooring Material ?
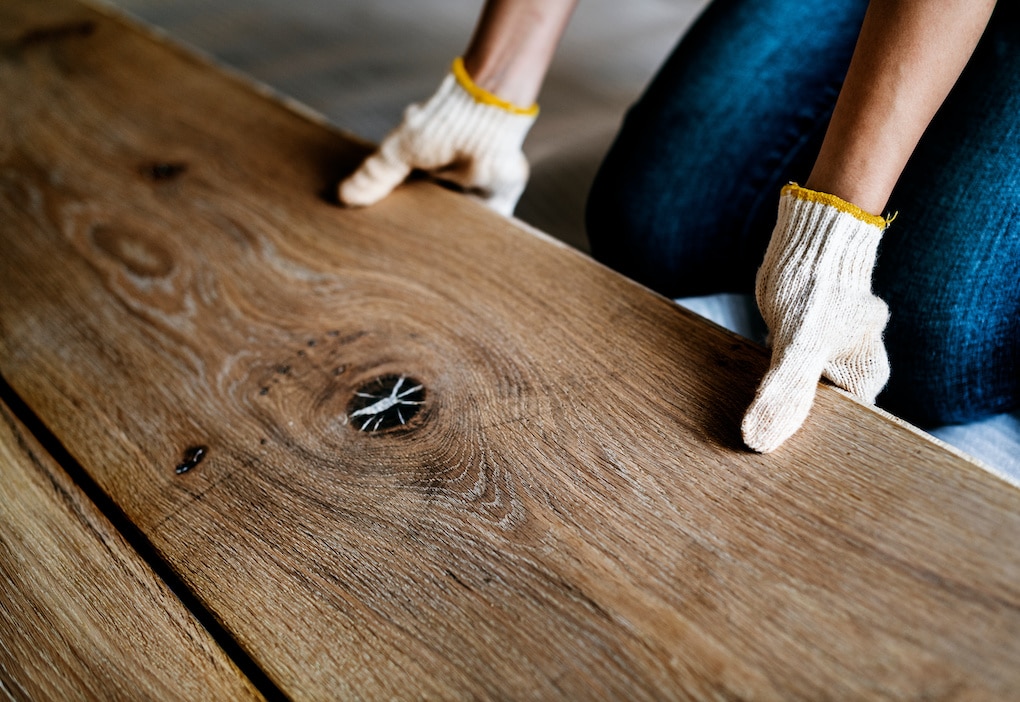
You must have correct expectations of what your reclaimed wood will look like when you pick it up. Reclaimed wood isn’t like virgin or new lumber. Instead, it carries the character of its past life.
You can expect reclaimed wood to have open knots, star-checked knots, checking in the boards, nail and blot holes, as well as other scuffs, which are all common parts of reclaimed wood. Many people consider this a huge advantage because these imperfections make your flooring unique to you.
Because of all the different imperfections, the floor will also be laid out in an entirely random pattern. You won’t have to worry about any overlapping patterns. This alone makes your flooring unique.
Board Selection ?
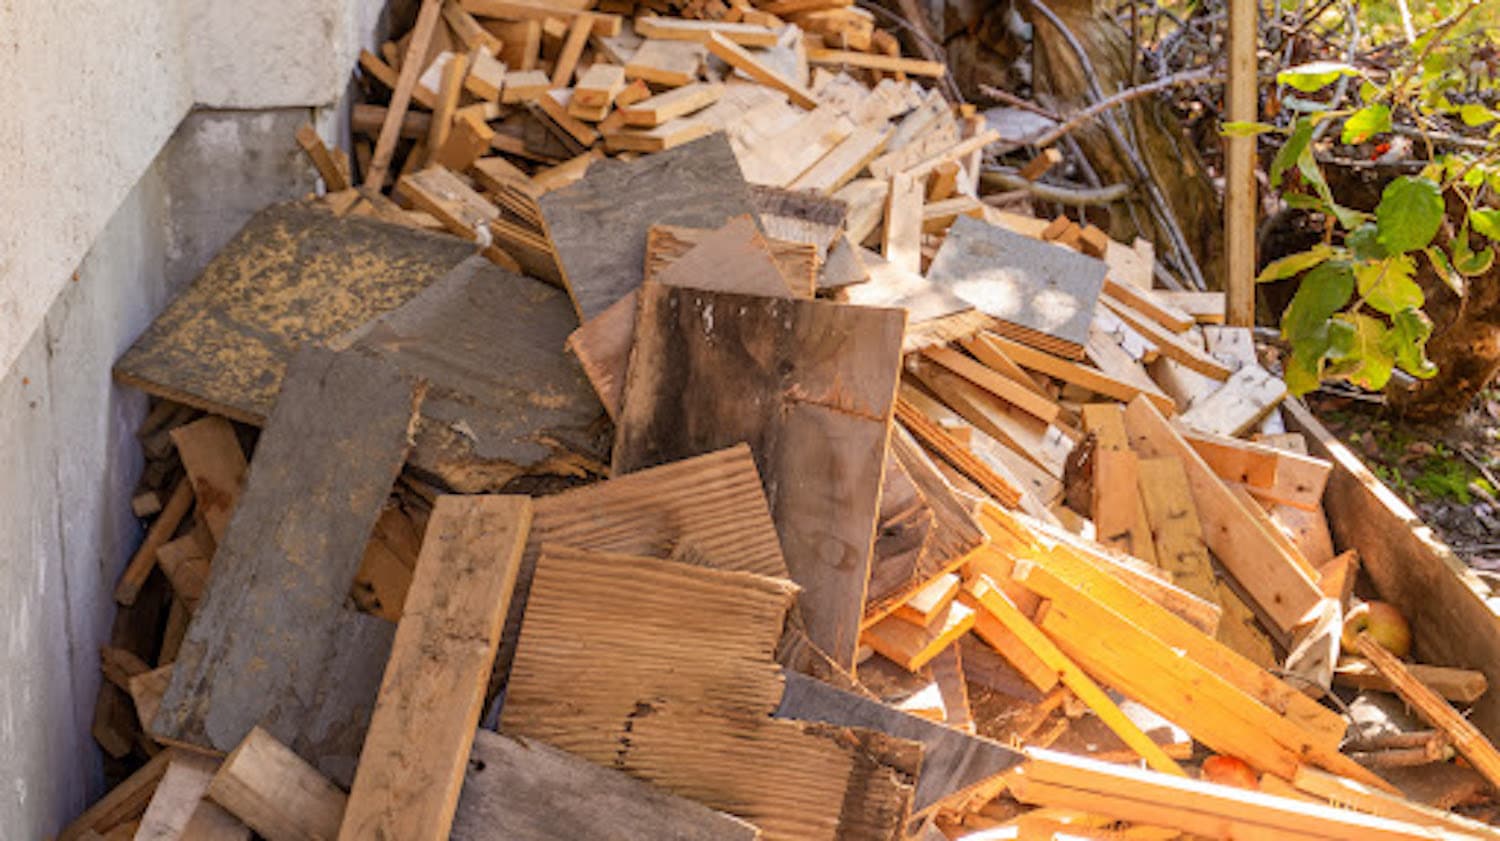
When it comes to board selection, we’re always willing to help you in this process, but you must know how the process works before coming to select the wood you’ll use for your flooring. When selecting boards, you’ll have a few different options.
To start, there’s the width of the boards, the color of the boards, and the variations within different types of wood. All in all, here are the options you’ll have when selecting your flooring material:
- Width of each board
- Color of wood
- The extent of checking and holes on the boards (some pieces will have more than others)
- Type of wood
- Tongue and groove style or face nailing
After you’ve selected the boards that you’re going to use based on the different factors above, you’ll be able to prepare the floor for installation.
Installing Your Reclaimed Wood Flooring ?
To start this portion of the process, we recommend laying out the boards on the room floor that you’ll be installing it. This will allow you to get a good idea of what your new wood floors will look like. In some cases, you might want to use different boards in different places to create a different look in the room.
Some homeowners prefer not to have as many knots in the wood, others would rather dark spots not be in certain places, and in some cases, boards will have some wood missing from them. It would be best if you were thinking strategically about where you’re going to place those pieces of wood specifically.
How to Arrange Reclaimed Flooring ?
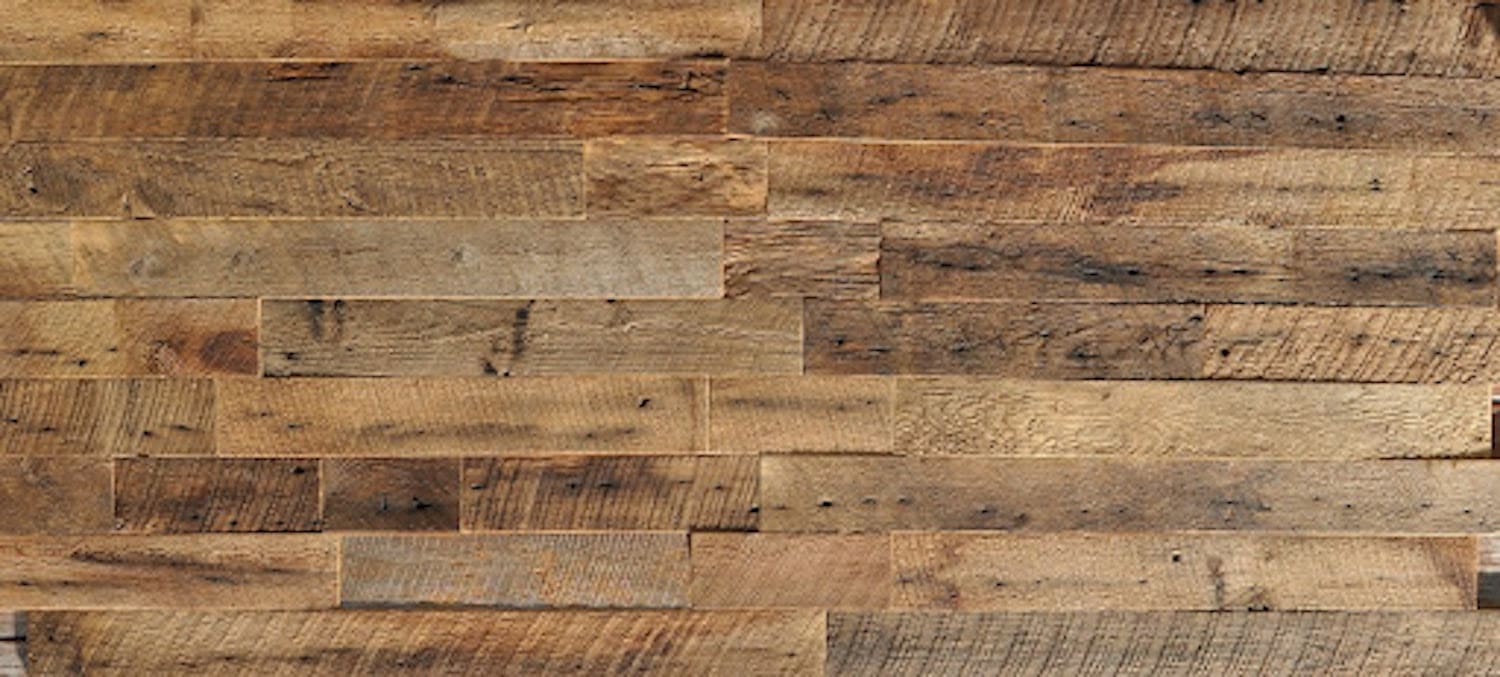
When arranging boards for a client’s or your own reclaimed wood floor, you’ll want to install it in a non-repeating pattern. The idea is to ensure that the new hardwood floor would be unique and not resemble other floors that a homeowner has seen before.
In terms of character, you’ll want to place boards with varying degrees and designs. Spread out naily boards and knotted boards so that they’re not all grouped in one area. Watch for light and dark boards so that not all light and dark boards are in the same place. You’re trying to make the floor look as random as possible.
When arranging the boards, be sure to consider the homeowner’s preferences as much as possible. A homeowner might not like nail holes in their kitchen but doesn’t mind them in the dining room. Reclaimed wood flooring is often a once-in-a-lifetime addition to a home. Be sure to make it spectacular.
Special Instructions
When installing the boards, be sure to glue the back of all boards over 5″ wide with a construction adhesive. Also, be sure to dot every knot with a drop of adhesive. Many times, knots are filled during our reclaiming process to ensure that the wood’s character is consistent.
You can also fill open knots, star check knots, and nail and bolt holes as desired with your preferred wood filler. You’ll want to use epoxy on areas where there are dips or chunks of wood missing. Fiberglass resin found at most hardware stores works great for filling holes. Just be sure to add color so that it’s not the standard greenish hue. This fiberglass resin will sand easily like wood.
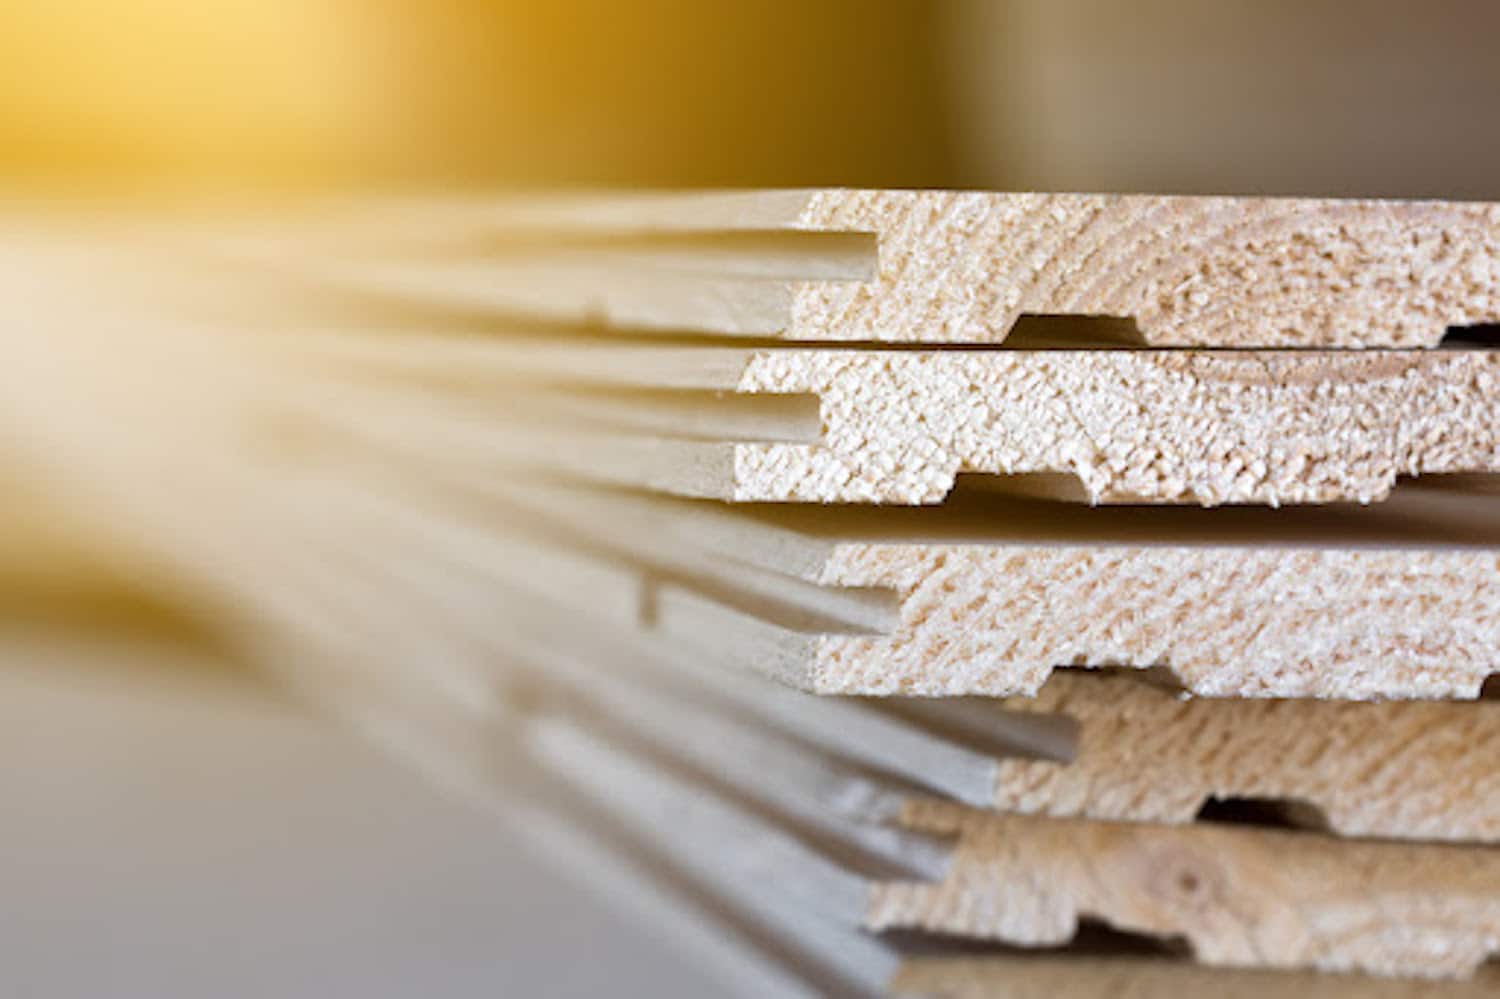
Tongue and Groove Installation for Hardwood Flooring
When installing your flooring in the tongue and groove style, you’ll need to use a floor nailing gun and nail every 8″ – 10″. Additionally, you’ll need to apply the below adhesive to secure your flooring successfully.
Application of PL 400 Adhesive
- Cut the end of the tube to create a 1/4″ opening.
- Apply a bead of glue across the back of the board, with the first bead about 1-1.4″ from the end of the plank.
- The beads should be placed about 8-10″ apart.
- Keep the glue 1/2″ from the edge of the plank. If glue squeezes into the joint between the planks, it becomes difficult to close the edge seams.
- Dot each of the knots with adhesive.
Face Nail Installation for Hardwood Floors ?
You can only face nail square edge floors. Each layout will also need to end on a floor joist. We recommend a 32″ nail pattern with alternating rows, so it doesn’t look like a deck with visible repeated nailing patterns. We also recommend racking three rows at a time, wedging boards with triangular scrap pieces of wood that have been screwed to the subfloor.
After you have completed installation, set all the nails just slightly below the surface, so they don’t become shiny when sanding the floor. It’s strongly recommended that the ends of the boards be predrilled before nailing. Use the same PL 400 adhesive as instructed above.
Direct Glue to Concrete Installation
To install your wood floor onto finished concrete, you’ll need to follow the manufacturer’s directions for laying wood mastic. After you’ve done that, lay the flooring as you would like the above tongue and groove, and continue to weight and strap the boards as you go. You must let the glue set up well before walking on the floor.
Finishing Your Reclaimed Wood Floors ??
Now that you have your reclaimed wood floor installed, it’s time for finishing. While finishing can be one of the more tedious processes, you’ll find it to be the most rewarding as the floors will be completed after this step.
You’ll want to give the wood a good look over at this point before you get too far into the finishing process. Be sure to fill any knots and other places that the homeowner would prefer to have filled. This portion of the process is more customized to your liking. You’ll need to fill any knots before sanding.
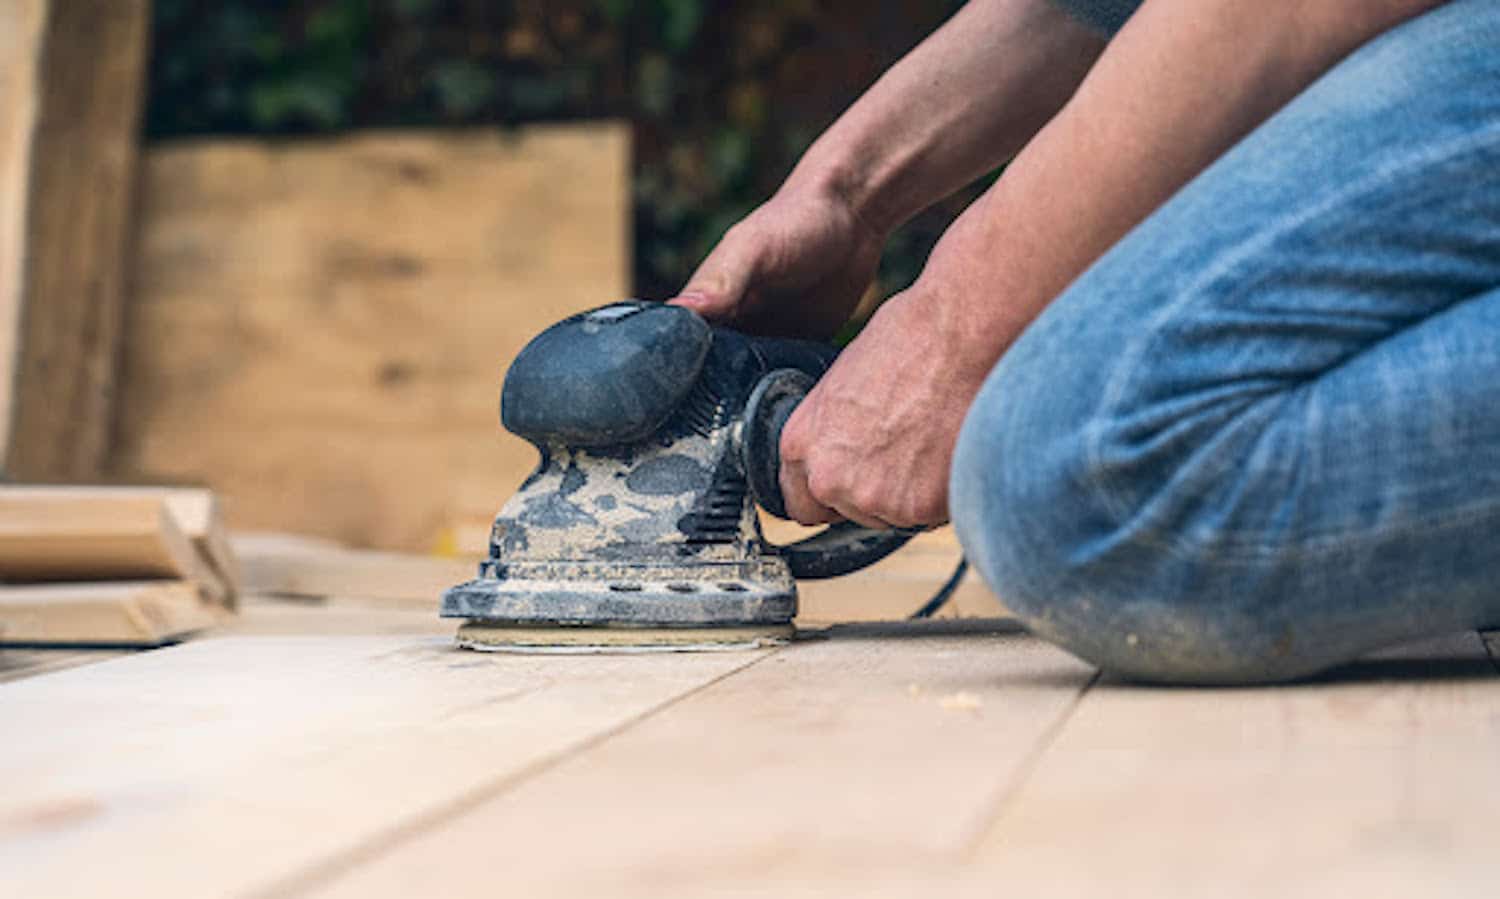
And Finally, Sanding
This is how we recommend homeowners sand their flooring before applying any finishes.
- Use 12″ by 18″ square box sanders (if you don’t own one, they can be rented) or a round buffer.
- Sand to the desired color or texture. Most floors will be very dark if left as is.
- Usually, sanding with 80 and then 100 grit paper will get the job done.
- Drum sanding is not recommended as it is too aggressive and will tear off the wood’s weathered face.
- You can be somewhat aggressive and still maintain the texture and patina but be sure to test your sanding out on scrap boards.
After sanding, you can apply one coat of an oil-based sealer or stain before adding any poly. After the sealer or stain is dried, you can use an oil-based poly in satin to finish the floor. We recommend using at least three coats. You’ll want to buff between each poly coat, 120 – 150 grit sandpaper is ideal for this.
In some cases, you may want to add a stain to light spots on the wood to help the floor match’s entirety. There will be some color variations, but any extreme light spots can be touched up. Always stain after the seal coat.
Certain spots will contain slivers with this type of wood. Use a razor blade to cut out, sand lightly, add stain to color, and then use epoxy/resin to fill. Usually, after the first and second coats of poly, you should check for slivers. Go over the complete floor well to ensure there aren’t any slivers left behind.
Work With the Best Reclaimed Wood Specialists Around ⭐️
If you’re interested in purchasing reclaimed wood flooring from MR Timbers, we’d love to hear from you! Reach out to us today to learn more about the wood that we provide, and be sure to make an appointment to visit our showroom. We can’t wait to lend a helping hand!

The Best Wood Flooring: 5 Reasons to Choose Reclaimed Wood
There’s a certain feeling you get when you walk into a home that instantly feels warm, grounded, and real. Not staged. Not overly polished. Just right. Often, that feeling starts underfoot.
Reclaimed wood flooring has a way of making a space feel lived-in from day one, […]
