How to Fix Split Wood: Repairing & Restoring Reclaimed Wood
If you find yourself with a piece of furniture or another wooden piece in your home with a split or damage, don’t get rid of it! There’s a chance you can repair and restore that wood for continued use. Particularly split wood on headboards or chair legs is super easy to fix with just a few simple steps. Then, while you’re at it, you

By Sarah Londerville | Updated March 3, 2026
If you find yourself with a piece of furniture or another wooden piece in your home with a split or damage, don't get rid of it! There's a chance you can repair and restore that wood for continued use. Particularly split wood on headboards or chair legs is super easy to fix with just a few simple steps. Then, while you're at it, you can restore and spruce it up a bit so it can last for many more years.
Today we're going to talk about how you can restore different wood items throughout your home. Doing this will save you loads of money, and it's great for the environment. Here's how to fix split wood.
Tools and Materials Needed to Repair Wood
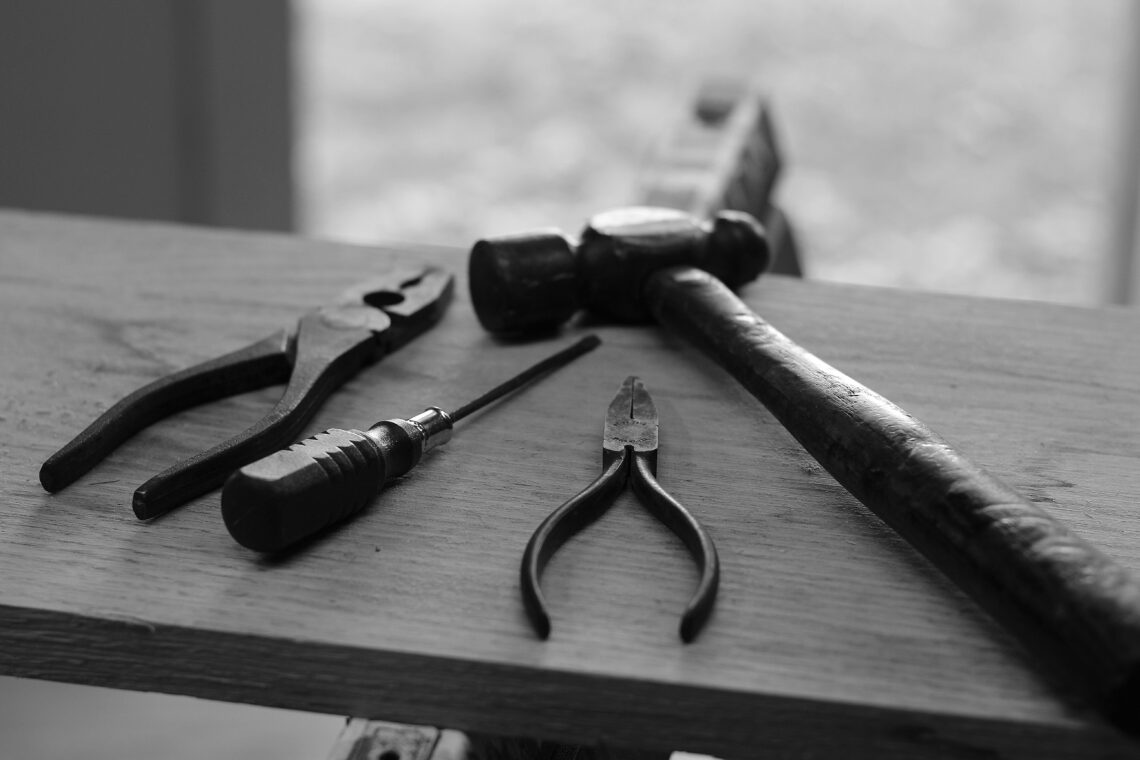
There are several stages to split wood that can determine what tools you might need and how much work will need to be put in to restore the wood. In many cases fixing split wood is a really quick and easy thing to do. But, with more extensive splits, you'll want to take your time and get the job done right. Here are some of the tools you should have on hand while working on this job.
Depending on the severity of your split wood, you may not need all of these things to get the repair done, but they can help make it look as good as new.
- Wood Glue
- Clamps
- Sander or Sand Paper
- Wood Filler
- Joint Compound
- Bondo
- Paint or Stain
How to Fix a Clean Break
If a chair or table leg breaks clean, you're super lucky and can quickly and easily repair this yourself without any complicated tools or bonding agents. A clean break means that there are no gaps when you put the broken piece or pieces back together. It simply goes back into place. If this happens, carefully apply some wood glue into the crack or break and use clamps to hold the pieces together until it fully dries.
If you have the time, it's best to leave the clamps on for up to 24 hours to ensure the glue has dried and sealed the break. If you're concerned about the clamp scratching the wood's surface, try placing a thin towel or rag between the hardware and the wood.
Also, you will want to avoid getting any excess glue on the wood outside of your break. It shouldn't ruin the wood piece, but it can be a pain to remove and clean up. First, if you notice a tiny bit of glue ooze out when you attach the broken pieces together, very quickly wipe it clean with a damp cloth. You can wait for larger drips till it dries and attempt to chisel it off carefully and then sand any excess. If you plan to repaint or refinish that area anyway, this should work just great.
You can also prevent any wood glue clean up by using masking tape to cover any hardware or tough to reach corners. You simply peel off the masking tape after you've used your glue, and any excess drops will come off with the tape!
Filling in Broken Wood Repair
If the crack in the wood is large or there's a hole left from missing wood pieces, you'll need to fill that crack in. There are several ways in which you can fill in the wood to ensure that it looks natural after you've finished. Here are some of our favorites!
Wood Filler
Wood Filler is the stuff that you find at the hardware store on the end caps. It comes in a variety of colors and offers a clean "wood-like" finish. Most of these wood fillers are stainable and should be able to match the color of your wood after being stained but be careful because that's not always the case. The last thing you'll want is to stain the wood and find that your wood filler doesn't match the color the way you thought it would. You'll have to start the repair all over if you're going to get it to look right.
Sawdust and Wood Glue
An age-old trick that's been used since wood glue started becoming popular is sawdust and wood glue. The trick is simple, really, and it doesn't take a master carpenter to figure out. All you'll need to do is find a scrap piece of wood, preferably the same color as the wood you're repairing, and sand it down a bit. Be careful to collect the sawdust. After you've got a good amount of sawdust, you'll need to mix it with the glue at a ratio of about 50/50. Mixing the sawdust and glue together will form a paste. That paste can then be used to fill in cracks and other places on the furniture or wood where cracks and dents are.
Let the compound dry and then sand it down so that it's smooth with the rest of the piece. You'll be able to stain over it or leave it. You'll find that this trick makes the wood look perfect and matches really well in most cases.
Joint Compound
Joint compound, or the same stuff that drywallers use to fill in their holes, also works great for wood. While joint compound is obviously white, it is a smooth compound that can spread easily and be painted over. All you'll need to have is a putty knife or similar tool so that you can spread it evenly and effectively.
After you've spread it out over the areas that need filling, allow it to dry, and then sand it down to the desired smoothness. When using joint compound, you'll often be able to get an almost seamless finish. The only downside to using joint compound is, of course, that it can't be stained to the same color as the wood. You'll only want to use this filler if you're painting.
Bondo
Looking for some next-level stuff? This solution will require that you wear a respirator mask while applying it. Bondo is a solution that's used for automotive repairs. It fills cracks and dents in the car's body and allows repairmen to sand down the autobody to a smooth finish.
With a compound this strong, you can definitely repair some big damages, but you'll want to be sure to do this in a safe area. We recommend using a respirator and doing any work with Bondo outside where there is lots of fresh air. After the solution has dried, and the repair portion of the project is done. You can sand off the additional solution and paint over it if needed.
Should I Paint or Stain the Wood?
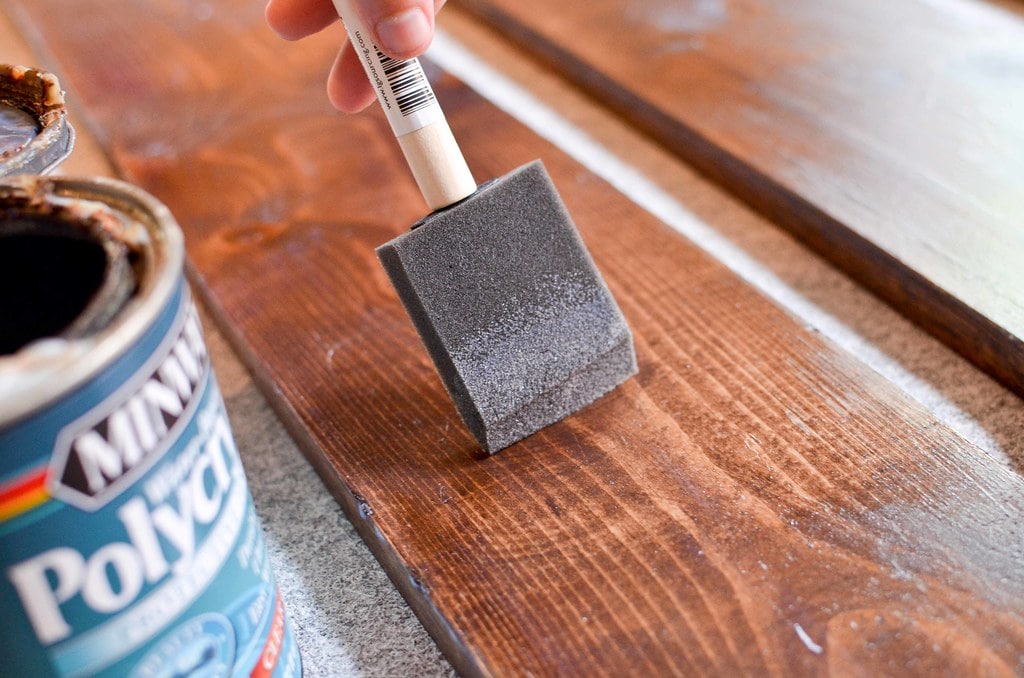
Of course, you can just paint or stain the wood after it's done being sanded and dried, right? Well, yes, but that might not be the right choice for your situation. You see, many antique wood products will have a paint color that is no longer available, and stain can fade or become darker or time, making them extremely difficult to match. You see, it's just not always the same if you have to refinish the object as part of the project. But don't let that stop you from completing the project! There are lots of ways that you can still fix split and broken wood without having to try and match the finishing products. Here are a few ideas of ways to be minimally invasive.
Pilot Hole Repairs
If you have a piece of wood that you need to glue together and you're not sure you'll be able to do it without extensive amounts of glue, consider drilling a hole into the wood and filling it with glue. A small drill bit will make the perfect size hole through two different boards, and you can easily fit the tip of a glue bottle into the hole to fill up with glue. Then after the glue is dried, very carefully sand it down to smooth. You'll find that this method is very minimally invasive.
Tape Off Portions of the Wood
If you have a long crack or cracks to repair, you can tape off portions of the wood that you want to keep the glue off. Just use masking tape or painter's tape that won't allow the glue to seep through and stick to the wood. Then carefully fill the crack with glue and remove any excess with a wet cloth or utility knife after it's dried. Remove the tape when you're finished, and the project area will be as good as new.
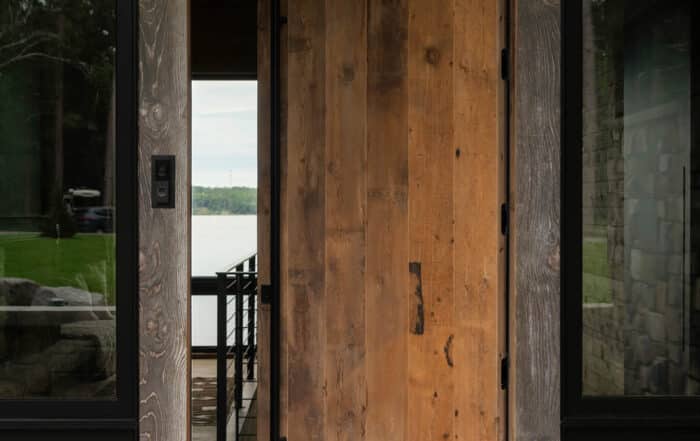
At Manomin Resawn Timbers, we see value and importance in every antique piece of wood. You shouldn't have to throw something out when it's damaged. Wood carries a legacy and story with it wherever it goes. We carry all types of reclaimed wood products from buildings around the state of Minnesota. Our reclaimed wood can be used for furniture, beams, or mantels in homes. We even build reclaimed wood doors using some of the practices talked about above.
Be sure to reach out to us if you're looking for more information on reclaimed wood. And for more woodworking tips, visit our blog today!


5 Custom Cut Wood Projects That Bring One-of-a-Kind Character to Your Home
Your home should feel like it belongs to you, not a showroom, not a catalog, and certainly not a copy of someone else’s space. One of the most meaningful ways to create that sense of individuality is through materials that carry both history and intention. That’s where custom […]
3 Tips for the Best Kitchen Flooring That Works With Your Cabinets
One of the most difficult parts of any remodel or home build is figuring out the color combination to make the best kitchen flooring match the cabinets in your home.
While yes, there are plenty of different styles and colors you can go with that all look great, you still want […]