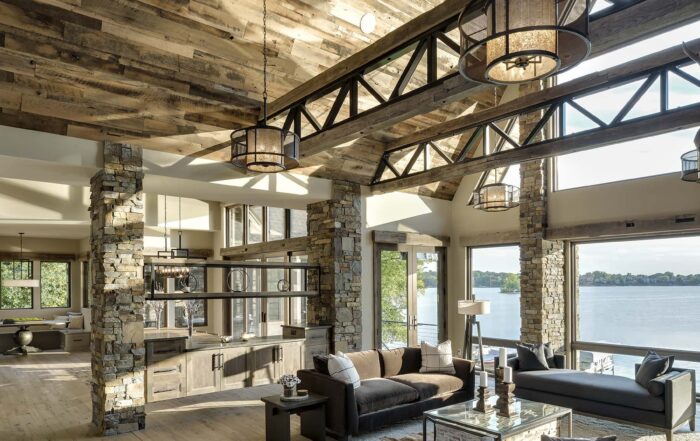
How To Install Your DIY Planked Wall (5 Simple Steps)
There are many different reasons you might want to install wood planking in your home. Install a DIY planked wall can add lots to your home and make for a beautiful accent wall. Instead, we’re going to focus this post on exclusively “how to” install a planked wall. Thankfully this is one of those projects that shouldn’t take too long but takes your home
By Sarah Londerville | Updated March 4, 2022
There are many different reasons you might want to install wood planking in your home. Install a DIY planked wall can add lots to your home and make for a beautiful accent wall.
Instead, we're going to focus this post on exclusively "how to" install a planked wall. Thankfully this is one of those projects that shouldn't take too long but takes your home to the next level of design. All you'll need is a few tools, some reclaimed wood planks, and determination.
Here's what we'll be talking about today:
- Finding the right wood
- Prepping the wall for installation
- Tools you'll need for installation
- How to install and how to finish
Looking for a video explainer? We love what these homeowners were able to come up with using wood planks!
https://www.youtube.com/watch?v=W9DDMZ7Re6U
Choosing Where to Install Reclaimed Planks
Before you can even start looking for wood to use on the walls, you'll need first to know where you're going to put it. Sometimes this is simple; other times, it's a challenge to find the right place to put the wood. But chances are you've already got a place in mind for your new reclaimed wood planked wall.
But if you're still looking for the perfect place to start adding to the wall, here are a few good spots.
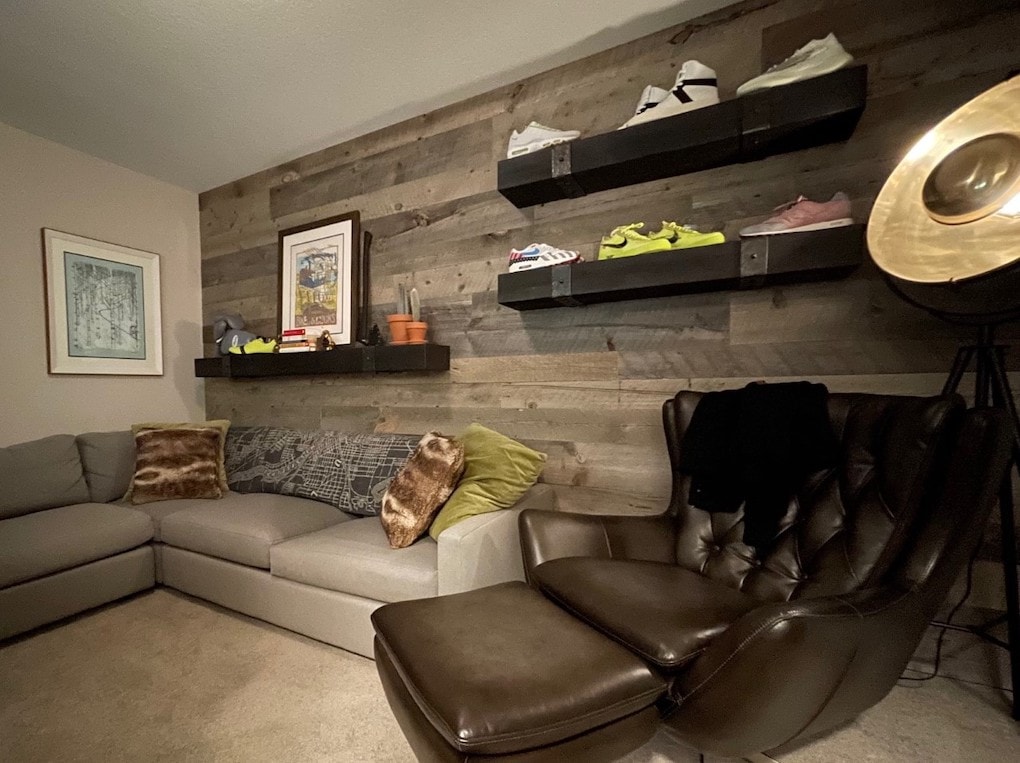
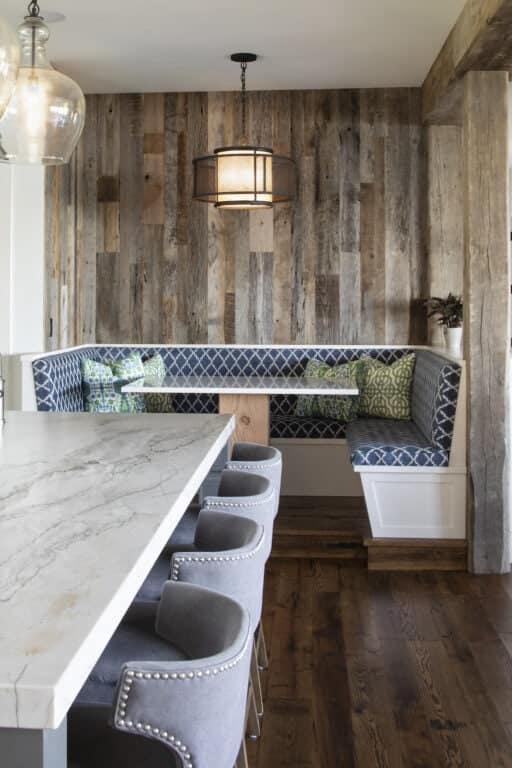
- Master bedroom accent wall
- Entryway wall and/or ceiling
- Dining room wall
- Behind the TV in your entertainment room
- Around your fireplace
Depending on what you're going for, we'd say that each one offers its own unique value, and you might even want to try a planked wall in more than one area of your home.
How to Find the Perfect Wood for Your Project
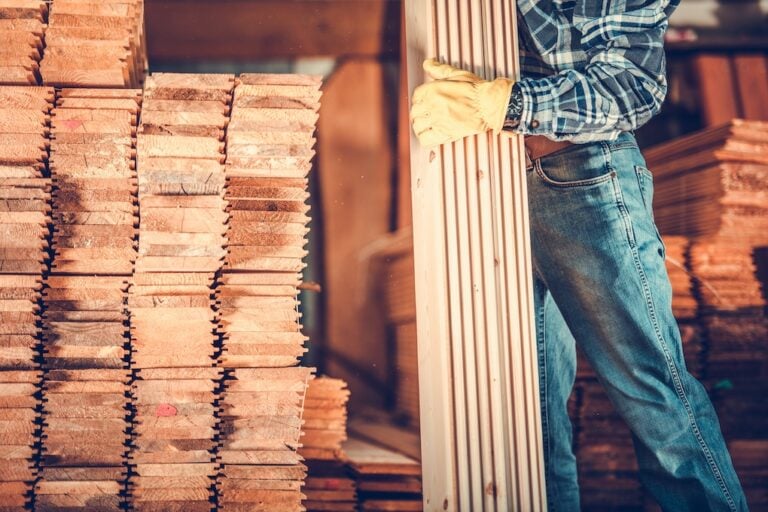
After you know how large the area you'll be covering is, you can start looking for the right wood for the project. Today we'll be talking mostly about reclaimed wood because it's one of our favorite products. But, if you're looking for a cheaper way to install wood planks, you can also purchase different options. Reclaimed wood tends to offer some of the best character and style to any project.
Purchasing Reclaimed Wood from a Dealer
The easiest way to find wood planks for your project is to use a reclaimed wood dealer such as Manomin Resawn Timbers. At MR Timbers, we take wood from different old warehouses, barns, and other structures. We de-nail the wood and remove any metal. Then we shape the wood (when needed) and kiln dry it so that it lasts forever in your home.
Finding Reclaimed Wood on Your Own
If you're trying to go the totally DIY way, you can find several different ways to do so. Reclaiming wood on your own is a lot of work and takes a lot of time. But it's definitely an option if you're looking for a fun project. The hardest part is locating the wood. After that, you can wash it, de-nail and remove all metal, dry it in the sun and sand it or shape it as needed.
We'd encourage you to have some experience working with wood before attempting to reclaim wood on your own. But, for a full guide on reclaiming wood, click here!
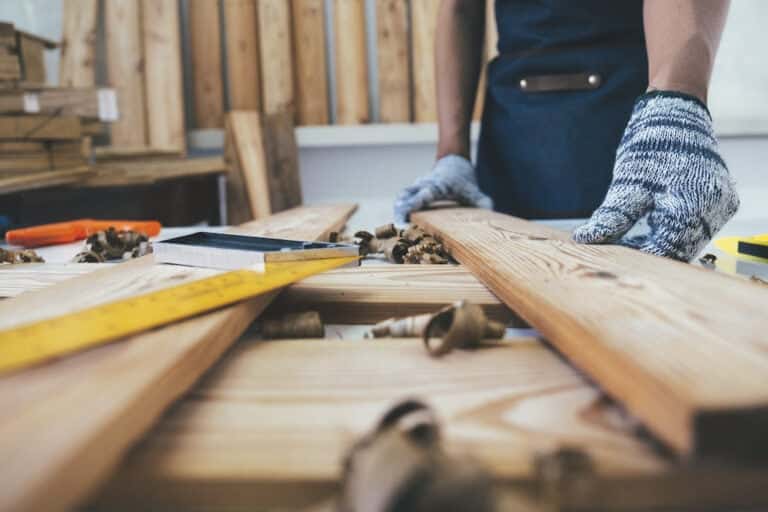
Finding the Tools You'll Need
The right tools can make a difficult job just that much more simple. And if you're installing a DIY reclaimed wood planked wall, several tools will help make the job quick and easy.
Here's what you'll need to get the job done right.
- Table saw or circular saw
- Palm sander
- Painting supplies (only if you intend to stain the wood
- Stud finder
- Level (preferably 3 to 4 feet)
- Air compressor
- Finish nailer or stapler
- Miter saw
- Jigsaw
- Painters putty
- Paintable caulk and caulk gun (look for colors that will match
- Tape measure
- Pencil
There may be a few more tools that seem useful for doing this job, but you should be able to get the job done with just these tools.
Prepping the Wall for Installation
Now that you've got your wood ready to go, it's time to prep the walls for installation. This is actually a pretty easy step and shouldn't take you too long to get done. But, it's important that you do this right before moving on with the installation.
First, you're going to want to remove any nails or staples in your wall from previous projects and older DIY installations. You'll need to do this by hand using a pry bar and hammer, or you can use an air compressor with the appropriate attachment.
You'll likely be able to place the wood right over your existing drywall. This works well and makes things pretty simple. But you'll want to mark your studs before getting too far in. Use a stud finder, pencil, and level to find and mark each stud in the wall from floor to ceiling. These markers are what you'll use to find the right places to nail or staple on each plank.
Here are those steps and a few more in a list:
- Remove nails or staples from the wall
- Mark the studs
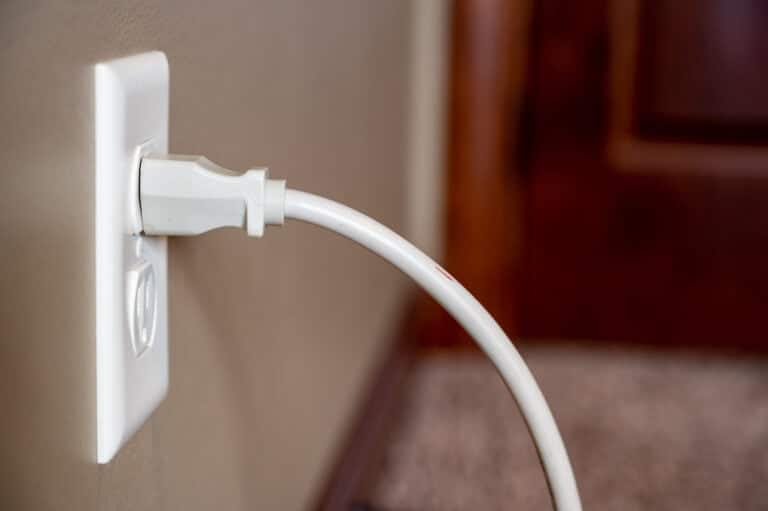
- Remove any outlet or light switch covers
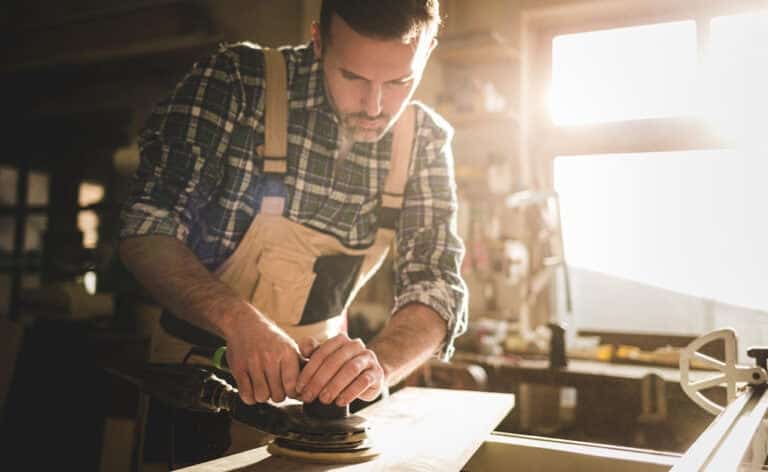
Prepping the Wood for Installation
Now that your wall is marked and prepped for installation, all you're missing is prepping the wood. This might mean sanding one side of the wood or even cutting the first few planks to fit.
If you're purchasing the reclaimed wood from a dealer, the amount of prep work needed to get the job done successfully is much less than what would be required when you're reclaiming the wood and prepping it all on your own.
The Fun Part: Installation
Installing the wood is by far the best part. Especially if you don't include admiring the finished project. But, installation is also the most tedious and time-consuming part of almost every DIY project. But it's still pretty easy, and you shouldn't run into too much trouble.
Get out the Air Compressor and Nailer
First, plug that air compressor in and get the old nailer out. Finish nailers are always preferable because they'll shoot a much smaller nail and smaller hole. Depending on the thickness of the wood that you've chosen to install, you shouldn't need anything larger than 3-4 inch finishing nails.
Choose the Right Pattern
If you've followed all the steps, then you should already have the lines drawn where you'll be able to nail the planks to the wall. But before nailing the first plank up, you'll need to decide on a good pattern. For example, on a 12-foot wall, you might try to stagger each plank by 12 inches after the first one. This will give the finished wood planked wall a stair-step feel as it moves up. Of course, it's always better to do this than to have all the planks sitting at the same length.
If you're looking to get creative with the pattern, there are many fun ideas out there. Just be careful that you don't take away from the beauty of the wood.
Nailing the Planks Up
When nailing the wood in place, be sure to leave some wiggle room between each plank. You're not looking for much, just a 1/16-1/8 inch. This wiggle room takes into account that the wood can expand and shrink as the seasons change. Also, make sure you're nailing through the middle of your studs to get a solid hold.
Cutting Around Outlets and Light Switches
Undoubtedly you'll run into outlets and light switches during the installation process—don't let this trip you up too much. All you need to do is mark the outlets and switches on the wood with the help of your pencil and tape measure. Then you can cut out those spots with your jigsaw, it works perfectly.
Post Installation Touch Ups
After installing all of the planks, you'll have to touch a few different areas up with some wood filler, putty, or caulk. The material you use to fix up the wood is ultimately up to you. We recommend using wood filler wherever possible because it blends in the best with natural wood. Fill up the nail holes and any imperfections, then sand away the excess.
Poof! Your beautiful project is complete!
Putting Everything Back Together
Now that you've finished installing your DIY planked wall, it's time to put everything back together. You can put the outlet and light switch covers back on, redecorate with the new background, or add some furniture. One of the best parts about doing a project like this is that you'll be able to enjoy a home that feels new and has a great feature!
If you want to purchase reclaimed wood paneling or planks from us, we'd love to help you get the right materials for your DIY planked wall project. Whether you're completing the project on your own or working with a remodeler, we've got the material you need to get the job done right.
Reach out to MR Timbers today for a quote on reclaimed wood for your home. And, be sure to check out our blog for more reclaimed wood ideas!
The Best Wood Flooring: 5 Reasons to Choose Reclaimed Wood
There’s a certain feeling you get when you walk into a home that instantly feels warm, grounded, and real. Not staged. Not overly polished. Just right. Often, that feeling starts underfoot.
Reclaimed wood flooring has a way of making a space feel lived-in from day one, […]
