How To Make A Reclaimed Wood Chest (Step-By-Step)
The occasional DIY project can inject a lot of life into people who like to craft something with their own two hands. And if you’re here, then you’re probably interested in building your own reclaimed wood chest. Here you’ll get a step-by-step guide to building a reclaimed wood chest for your home. No matter the purpose you want the chest to serve, these tips
By Sarah Londerville | Updated July 22, 2021
The occasional DIY project can inject a lot of life into people who like to craft something with their own two hands. And if you’re here, then you're probably interested in building your own reclaimed wood chest.
Here you'll get a step-by-step guide to building a reclaimed wood chest for your home. No matter the purpose you want the chest to serve, these tips should help. And who doesn't love reclaimed wood furniture in their home? It's always a great addition!
What You'll Need to Build a Reclaimed Wood Chest
Before you can get started building this piece of reclaimed wood furniture, you'll need to find some reclaimed wood that you can use. Finding reclaimed wood can be a challenge, but never impossible.
To find the wood, you can check with factories or warehouses with old furniture being thrown away for their scraps or go straight to the source: salvaging reclaimed wood from older buildings that are going through renovation. Wherever there is a renovation or remodel project, there is likely wood that someone could take instead of it being thrown away.
You can also purchase reclaimed wood from places like Manomin Resawn Timbers. Manomin specializes in providing reclaimed wood from several sources.
Tools you'll need:
- Table Saw
- Circular Saw or Miter Saw
- Drill
- Tape Measure
- Cordless Drill
- Sander with 60 grit sandpaper to smooth surfaces. If you don't have a sander, use 100 grit sandpaper.
- Screws
- Drill Bit Set
- Hinges and Latch
Getting Started With the Build
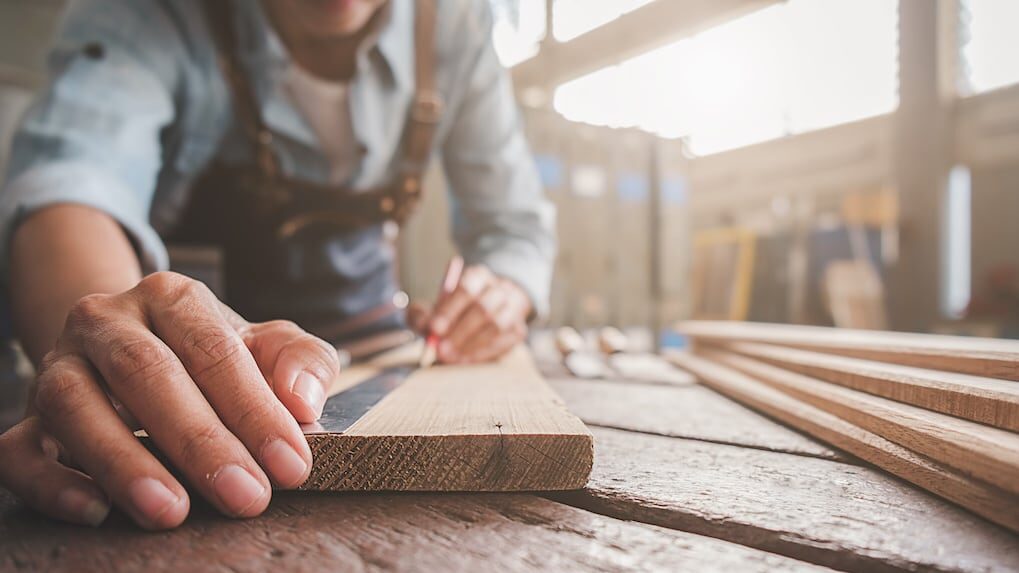
Now that you have all of the tools, you'll be able to get started on the build of your wood chest. To start, you'll need to measure the reclaimed wood that you have. You want to make sure that it is long and wide enough for your needs. If for some reason, it isn't, you might just need to add a few more pieces.
Next, you'll need to cut the reclaimed wood. You can use a table saw or circular saw for this task, but it is vital that you take your time and measure everything carefully not to mess anything up. As the saying goes, measure twice (or three times) and cut once!
After you’ve cut all of the reclaimed wood pieces, sand out any rough edges with the 100 grit sandpaper before moving on to putting it all together.
Putting the Wood Together

Now that you've sanded down all of the reclaimed wood pieces, it's time to start putting them together! You'll want to make sure that you use a cordless drill for this step. Having a cord draped over everything isn't fun at all and can get very messy.
To attach the different pieces of wood together, you'll have to drill out pilot holes. Make sure the pilot holes are just big enough to fit the screws you'll be using. Be sure to also have all holes drilled in the reclaimed wood pieces before screwing them together!
When it comes time to attach reclaimed wood and another material (such as metal), always drill pilot holes. This way, you won't get a split in the reclaimed wood.
After you've got all of your reclaimed wood pieces drilled and screwed together, it's time to sand them down again with 60 grit paper before moving on to applying a finish.
Applying Finish
The last step is adding some kind of protective coating or varnish. You'll want to choose a finish that is water-based. This will protect the reclaimed wood from any moisture or condensation that could be in your home.
After applying your coating, you need to let it dry for about 24 hours before using the reclaimed wood chest. It's best to sand and apply all of these coats of finish within two days.
Reclaimed wood is the perfect material to use for a chest. It's inexpensive, environmentally friendly, and has a beautifully rustic appeal. The process of building one can be challenging, but with these tips, you'll have an easier time.
The first step of the process is finding the right wood that you can use for the project and ensure that it’s the right size. Measure twice before cutting so that everything fits together nicely. We recommend using screws as they hold better than nails when attaching pieces of reclaimed wood together. After securing all of the reclaimed wood pieces in place, sand them down again with 60 grit paper before applying finish on top to protect from moisture and condensation damage within your home.
If you're in need of any reclaimed wood products, be sure to call us. Manomin Resawn Timbers is always ready and willing to help you succeed in your journey with reclaimed wood.
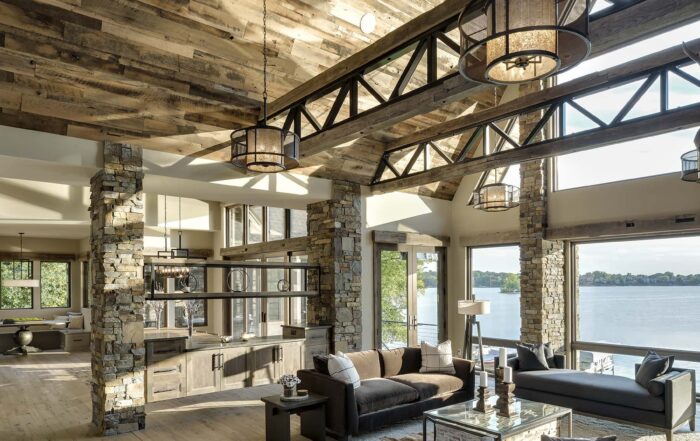
The Best Wood Flooring: 5 Reasons to Choose Reclaimed Wood
There’s a certain feeling you get when you walk into a home that instantly feels warm, grounded, and real. Not staged. Not overly polished. Just right. Often, that feeling starts underfoot.
Reclaimed wood flooring has a way of making a space feel lived-in from day one, […]
