How To Finish Reclaimed Wood: An 8 Step Guide
You finally bought the perfect wood for your home project. After hours of research and comparing different wood styles, you pulled the trigger. There is one last crucial step you need to take before you install your new timber. You need to apply a finish, and luckily we are here with a guide on how to finish reclaimed wood. Getting this part right can
By Sarah Londerville | Updated February 11, 2026
You finally bought the perfect wood for your home project. After hours of research and comparing different wood styles, you pulled the trigger.
There is one last crucial step you need to take before you install your new timber. You need to apply a finish, and luckily we are here with a guide on how to finish reclaimed wood.
Getting this part right can make or break your wood design style. So if you've never done it before or want some pro tips, you're in the right place.
Here is a concise, 8-step guide on how to finish reclaimed wood. If you're curious about reclaimed wood and why you should consider incorporating it into your home, check out our section below!
Reclaimed wood has many benefits and could be the perfect option for your next home remodel. Give it a read, and you might find it more reasonable than you initially thought.
And now, on to our main event:
How To Finish Reclaimed Wood: The 8 Steps To Success
Everyone has their vision for turning their reclaimed lumber into a repurposed masterpiece, but these top tips will help streamline the process.
1. Start with With Giving Your Reclaimed Wood A Good Cleaning
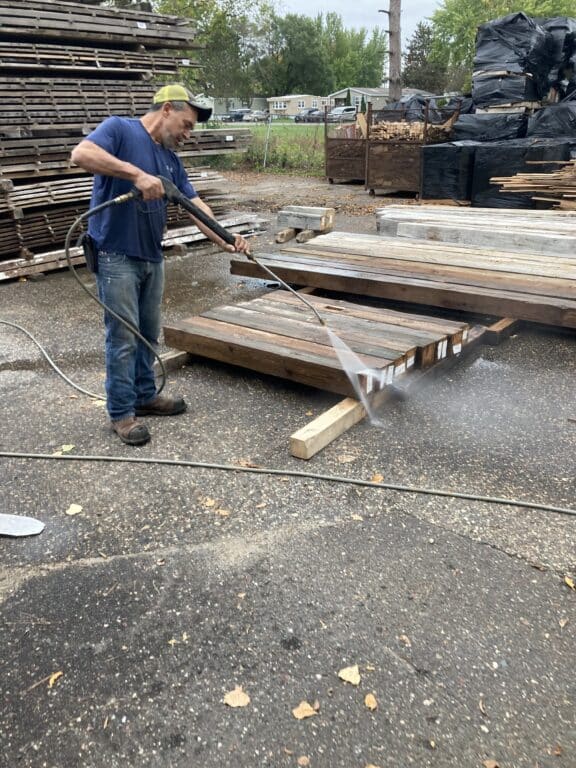
Use a nylon bristle brush and run it all over the reclaimed wood to remove excess dirt, dead bugs, or any other unwanted materials. An air hose is a great way to eliminate smaller particles that might still be clinging to the wood.
You can also use a high-pressure water sprayer, but you’ll need to be extra careful, or you could damage the grain.
This is an important first step in the process of how to finish reclaimed wood. Without properly cleaning your wood, there is a high chance your finish will not turn out the way you want it.
You also risk sealing in any imperfections, dirt, and grime that will eventually work themselves out. This will inevitably compromise the integrity of the stain you worked so hard to apply.
The moral of the story is, do not skip the initial cleaning of the wood.
2. Check The Wood Beams For Screws, Nails, or Other Unwanted Metal
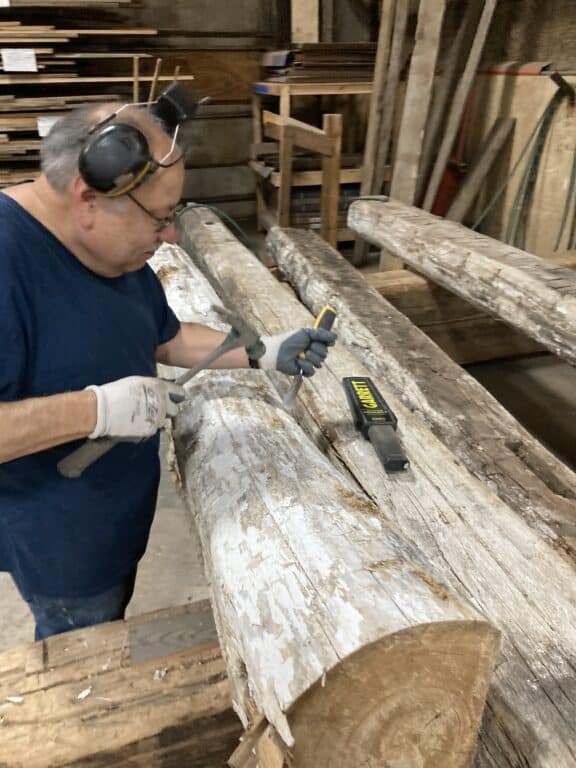
The next step in finishing reclaimed wood is to check for extra metal. Many repurposed materials were once part of barn beams or siding, so you could find bolts or nails in the lumber.
Look at each board carefully to ensure you don’t miss any metal that will harm your saw blade when you cut the boards later.
This step in how to finish reclaimed wood is important for two reasons:
First, it makes the wood much safer to work with. Wood beams that are left with nails, screws, and other protrusions risk cutting or puncturing the hands of those working with them.
Second, reclaimed wood littered with junk metal is ugly. The purpose of using reclaimed wood in your home is to highlight the age and value of the wood. Excess screws and nails steal from the woods aged beauty and make it look like a tacky job.
3. Check For Bugs, And Treat The Wood If Necessary
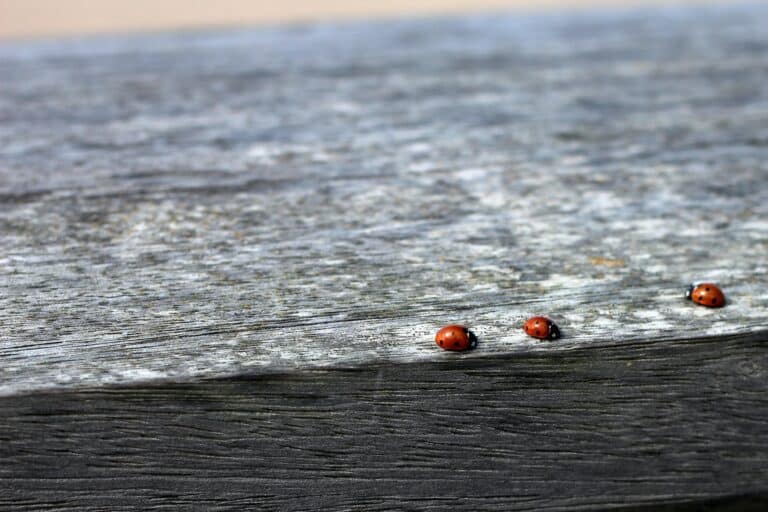
When buying your batch of reclaimed timber, ask the supplier if the wood was treated for pests previously. If the wood is untreated or you still see signs of bug life, you’ll need to prime it with a solution.
Unfortunately, the person you buy the wood from often won't know if it's been treated or has bug issues. If you are suspicious of your wood having a bug infestation issue, we strongly recommend treating the wood for bugs again. It's a much safer bet than rolling the dice on losing your beautiful reclaimed wood to bugs a few years later.
Most of the time, these are wood-boring beetle. So if you want more information on how to fight them, check out this post on how to stop Powderpost Beetles.
4. Prime The Reclaimed Wood With Termite Resistant Solution
To protect the wood from termites and insects, prime the lumber with a Borax solution. These chemicals will not only keep invaders like termites away but kill any pests remaining on the lumber’s surface.
Make sure you have rubber gloves on for this step. Termites can be a nightmare to get rid of if they do manage to access your home; you'd have to call pest control to exterminate them, so don't avoid this step whatever you do.
Mix 3 cups of Borax with a gallon of water in a large bucket, stirring until the mixture has dissolved completely. Use a sponge to prime and coat the wood’s surface. You’ll need to let it dry for 6 to 7 days, so the chemicals fully absorb the wood.
If crystals remain on the wood after the Borax dries, use a bristle brush to scrub those off. Be sure to wear a respirator and safety goggles to shield yourself from the harsh chemicals. This is an essential step in how to finish reclaimed wood.
5. Strip Any Paint From The Woods Previous Purpose
If the wood has old paint, you’ll need to strip it before finishing your reclaimed wood. Use a brush dipped in a chemical paint stripper to cover the surface of the wood. Once the stripper has soaked in and set (which could take anywhere from 30 minutes to 24 hours), you can scrape it off with a paint scraper.
Remember to protect yourself with a dust mask or respirator, rubber gloves, and safety goggles when finishing reclaimed wood.
After this step, you should have removed all unnatural blemishes from the wood. It is now a canvas for your sanding and finishing process.
While these initial 5 steps can take a good amount of time, removing anything compromising the finish of your wood is crucial. These steps are solely for ensuring the longevity of your reclaimed wood.
6. Sand the Wood Down
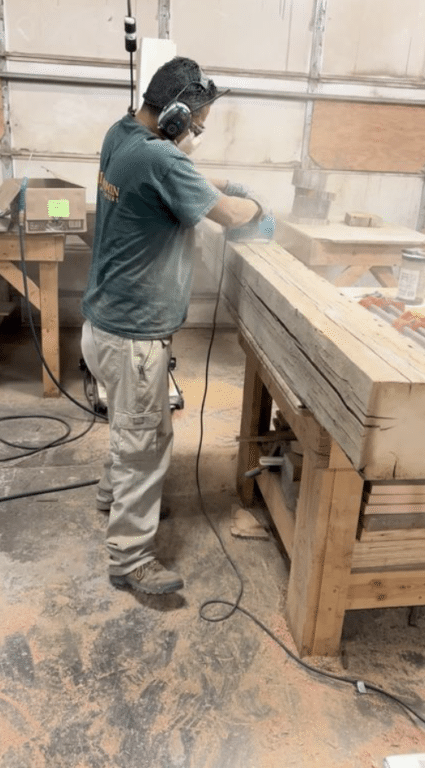
The next thing you need to do when finishing reclaimed wood is sand it down. Use 100-grit sandpaper and press it firmly against the surface of the lumber. Sand in circular movements to smooth out unwanted imperfections and remove splinters. If you have access to an electric sander, you can save a lot of time and splinters depending on how rough your wood is.
Sanding the wood is an important step for two reasons. First, it is far less likely that the wood will splinter if it's brushed up against. This will prevent injuries and protect your wood from splintering off.
The second reason sanding is crucial has to do with evening the wood's surface area for staining it. For your stain to be absorbed properly, your reclaimed wood must have an even surface area. While you can stain uneven wood surfaces, sanding it down ensures an even coating.
7. Apply Wax or Wood Finish
Before you turn your reclaimed wood into a repurposed masterpiece, apply a wax or wood finish (polyurethane solutions are best) to the boards. You will likely need to apply two to three coats, waiting half an hour to one hour between each layer.
It should be noted that the number of coats you should apply is entirely subjective to the owner's preference. You won't hurt the wood by applying additional coats of finish. Depending on the finish you choose to use, you may need to apply more than our recommended three coats.
This process is what colors and applies the 'finish' to the wood. Although your project will look complete after this step, we strongly recommend following through with the eighth step to protect your work.
8. Finish with Wood Sealant
The last step in how to finish reclaimed wood is a sealant. Once you apply your wood finish, use a large bristle brush to put a light layer of wood sealant over the lumber. The sealant protects it against wear and tear, making it more durable in high traffic or exterior areas.
Not Confident You Can Finish Reclaimed Wood On Your Own? We Can Help.
Each beam of finished reclaimed wood you bring into your home is like a historical artifact, permeating the space with character and class. Every crevice and notch includes its own unique story.
Your kitchen door might have once been the floor of an Italian count, or your walls could be from the beams of a farmhouse dating back to early colonial America. Who wouldn’t want a piece of history in their home? We hope this guide on how to finish reclaimed wood helps you with your project, but if not, we can help!
If you're looking to use reclaimed wood in your next home project or build, then contact Manomin Resawn Timbers today.
2 Types of Wood You Absolutely Need to Be Building With
Whether you’re building a new project or sprucing up an existing home, reclaimed wood should be at the top of your list of building materials. Our selection of beautiful antique hardwoods will contribute a timeless aesthetic to your home. Discover why white oak […]
Barnwood Ceiling Fan: The Complete 7 Step Guide
Barnwood ceiling fan styles are quickly becoming a favorite for homeowners looking to refresh their interiors with warmth, texture, and timeless farmhouse charm. By blending reclaimed barnwood details with rustic, country-inspired design, a barnwood ceiling fan adds both visual interest and everyday comfort to nearly any space.
