Learn How To Stain Wood in 7 Simple Steps
If you’re reading this, then you’re either looking to get started with a fresh wood stain, or you already attempted it, and it didn’t go so well. Either way, we’re here to make sure that you get it right! Applying the right wood stain to your home’s next project will make all the difference, and we want you to be 100% confident in the

By Sarah Londerville | Updated July 7, 2022
If you're reading this, then you're either looking to get started with a fresh wood stain, or you already attempted it, and it didn't go so well. Either way, we're here to make sure that you get it right!
Applying the right wood stain to your home's next project will make all the difference, and we want you to be 100% confident in the product that you get from your hard work. Here are the steps we take to make sure the job gets done right.
How to Choose the Right Stain for Your Project
The first step in how to stain wood is to make sure you have the right supplies. This includes picking out the perfect stain for your project! You'll want to keep a few things in mind when making your decision:
- The type of wood you're working with
- The color you want
- The amount of time you can invest
- The level of protection you need
There are two main types of stains that can be used for a project.
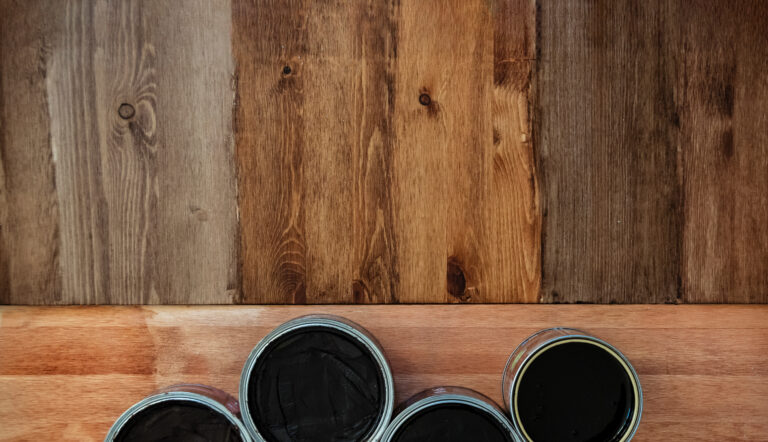
Water-Based Stain
There are obviously advantages to both types of stains, but there are drawbacks as well. Here's what you can expect from a water-based stain.
Advantages:
- Water-based stains are easy to apply
- Offer little to no odor
- Dry quickly
- Are pet and kid-friendly
Drawbacks:
- They can raise the grain of the wood, which you'll then have to sand down
- They also might not give as rich of a color as you were hoping for
- Can require multiple coats
- Won't offer the same level of water resistance or protection
Oil-Based Stain
Oil-based stains have been around for a long time, and with good reason. Many people still prefer to use them because of how well they work and how long they last.
Advantages:
- Oil-based stains penetrate the wood better, giving it a richer color
- They offer more protection from water and other elements
- Fewer long term maintenance issues needed
Drawbacks:
- Longer dry time requires more time spent staining the wood
- The fumes can be overwhelming and dangerous
- It can be difficult to apply evenly
You should be able to choose the stain that's right for you based on these advantages and setbacks. But if you're still unsure of which stain is right for you, you can reference this guide or talk to a professional at your local home improvement store.
Tools You Need for the Job
Before you can get started with your project, you'll need some pretty specific tools. You might not need each of these, but it never hurts to have different tools on hand to help ensure your project gets done the right way.
- Gloves
- Eye protection
- A respirator mask
- Sandpaper (coarse and fine grit)
- A tack cloth or lint-free rag
- Wood filler (if needed)
- Pre-stain wood conditioner (if needed)
- Paintbrush or paint roller
With these materials, you should be set to undergo any wood staining project that you need to.
https://www.youtube.com/watch?v=O_GIJ1eBhrM
How to Stain in 7 Steps
Following each of these steps will help to ensure that your project is completed with a 100% success rate. Of course, different stains can cause problems or lead to different outcomes. But, in most cases, you'll be able to get the most out of your project when you're careful to prep the wood and stain it carefully.
1) Prepping the Wood and Surface
The first step is always to prep the wood. This includes sanding it down and making sure that the surface is clean before you start staining. If you want the wood to have a more rustic or worn look, finer sandpaper should allow you to maintain that.
You can use coarse grit sandpaper to remove any old stain, paint, or varnish from the surface of the wood. When you're working with reclaimed wood, it's not as important to complete this step.
2) Wipe Down the Wood
After you've sanded the wood, you'll want to wipe it down with a tack cloth or lint-free rag. This helps to remove any of the dust that was created during the sanding process.
It's critical that you use a lint-free rag. You don't want any of that dust or debris to get trapped under your stain. If that happens, you'll be stuck back at the beginning of the process.
3) Open and Apply the Pre-Stain Conditioner
If you're using a pre-stain conditioner, now is the time to open it and apply it to the wood. You can find these conditioners at most home improvement stores. Pre-stain conditioners help to create an even surface for the stain to be applied. This is especially important if you're working with a softwood-like pine.
Follow the directions on the conditioner you're using. You'll usually need to let it sit for around five minutes before moving on to the next step.
4) Wipe Off the Excess Pre-Stain (Use Lint-Free)
Using a lint-free towel or rag again, wipe off any of the excess pre-stain. There's no science to this step; just ensure that the surface has an evenly applied layer of the conditioner.
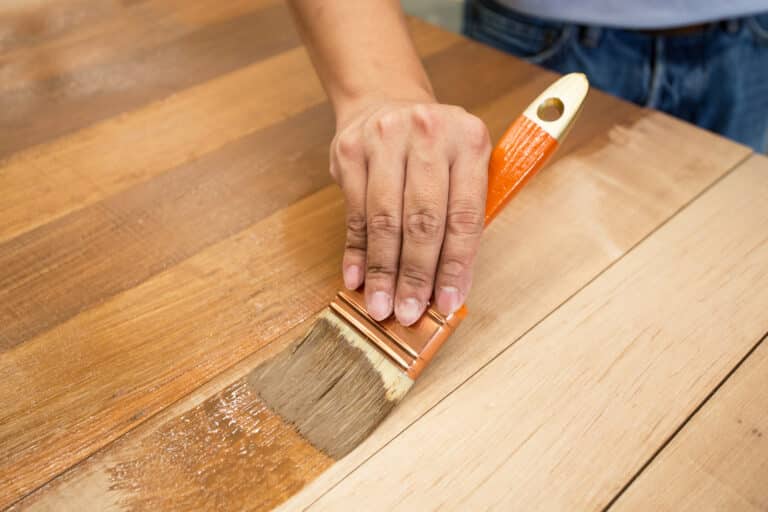
5) Open and Apply Your Stain
It's finally time to open and stir up your stain. Be sure to mix it well so that you have a consistent color. If you're using an oil-based stain, be very careful with the fumes. Wearing a mask and gloves will help you ensure that you keep your body safe.
It's always best to apply the stain in a well-ventilated area.
When you're ready, apply the stain evenly across the surface of the wood. You can use a paintbrush, paint roller, or even a clean rag to do this. Be sure to apply the stain as evenly as possible.
6) Let the Stain Rest for a Few Minutes
Let the stain sit for around five minutes before moving on to the next step.
But, keep in mind that how long you let the stain sit will affect how dark the wood becomes. If you want a lighter color, wipe it off sooner than five minutes. If you want a darker color, you can let it sit for as long as you like.
Water-based stains may not react in this same way. You may need to re-apply the stain until it reaches the color shade you're going for.
7) Wipe Off the Excess Stain
Finally, you can wipe off any excess stain with your lint-free rag. Because you're using this type of rag more than once, we'd recommend having more than one. That way, there's no dust or residue from the other uses getting added in the end.
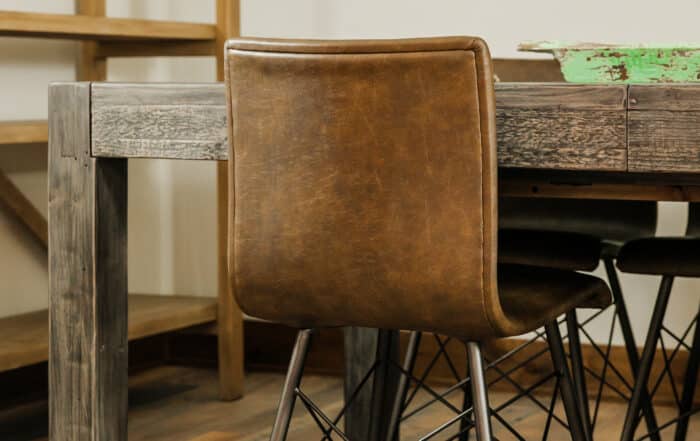
Purchase Reclaimed Wood That Looks Fabulous
Manomin Resawn Timbers is the perfect place to purchase reclaimed wood that you can use for almost any project. From the perfect fireplace mantel to doors and box beams, we'll take care of your every need.
Why waste your time with virgin lumber when your home could look classy and beautiful with the help of resawn and reclaimed timbers?
Reach out to our team today for the classiest wood you can find!

The Best Wood Flooring: 5 Reasons to Choose Reclaimed Wood
There’s a certain feeling you get when you walk into a home that instantly feels warm, grounded, and real. Not staged. Not overly polished. Just right. Often, that feeling starts underfoot.
Reclaimed wood flooring has a way of making a space feel lived-in from day one, […]
