How To Install Paneling: Reclaimed Wood Panel Installation Guide
Shiplap has been a commonly used feature in many homes for decades. But shiplap falls short when looking for something original and exciting for your home or business. At this point, it’s not original and doesn’t offer what homeowners want in an accent wall. Reclaimed wood paneling offers originality, sustainability, and a unique way to make your home look great. We’ve provided everything you
By Sarah Londerville | Updated February 9, 2024
Shiplap has been a commonly used feature in many homes for decades.
But shiplap falls short when looking for something original and exciting for your home or business. At this point, it's not original and doesn't offer what homeowners want in an accent wall.
Reclaimed wood paneling offers originality, sustainability, and a unique way to make your home look great.
We've provided everything you need to install paneling in your home. Let's get started.
Purchasing Your Wood Paneling
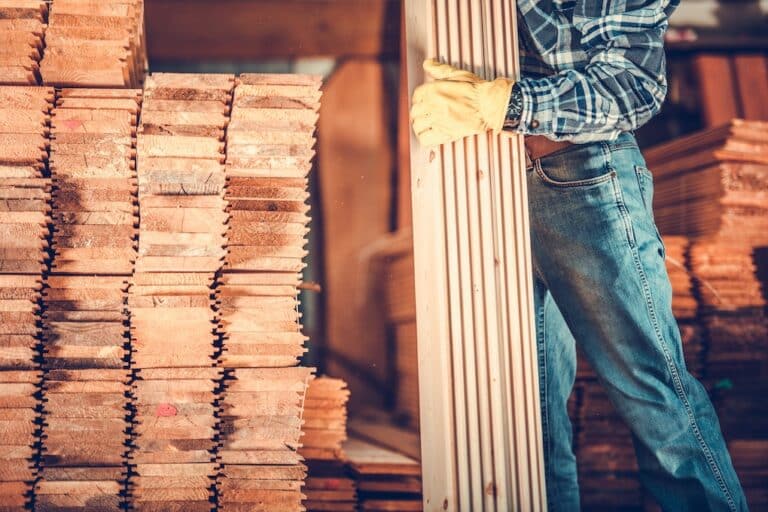
Before you can install the wood paneling, you have to purchase it. Where you are buying your reclaimed wood matters because the quality of the product itself will vary drastically depending on the vendor you purchase it from, what it's made of, and how it's intended to be installed.
Local hardware stores often have paneling you can purchase specifically for wall installation. Another option is buying from a lumberyard or specialty store like Manomin Resawn Timbers. We offer specific resawn timber options for wood paneling that will give your home a unique look.
Types of Wood Paneling
As you consider different purchasing options for wood paneling, it's essential to know that there are several different types of wood, different ways of installing it, and different sizes to consider.
Reclaimed Wood
At MR Timbers, we're partial to reclaimed wood paneling, not just because it's our bread and butter. Choosing a product that's been recycled, restored, and reused creatively has a lot of value.
Reclaimed wood panels can come from almost anywhere. Sometimes, the wood comes from warehouses or old factories, and other times, it comes from barns or remodeling homes. Either way, the wood offers character and is sometimes more than 100 years old.
There are several colors/shades of wood that you can purchase from a reclaimed wood dealer. Whatever style or design you're going for, we can help!
Shiplap
One of the significant trends in the last few years has been creating a shiplap wall in your home or business. HGTV and other remodeling influencers have made it even more popular.
Shiplap is usually bought from your local lumber yard or hardware store. The boards come ready to be slid together like tongue and groove and then nailed or fastened to the wall.
Tongue and Groove
The main difference between tongue and groove and shiplap is that shiplap is often made to overlap one board over another. Tongue and groove, however, fit together at the joints and don't overlap.
Choosing tongue-and-groove or shiplap depends on how you want the wall to look when it's finished.
Board and Batten
Board and batten allow you to install a paneling that offers a 3D approach. First, your "boards" or panels are attached to the walls, and then the "batten" or molding is situated between the panels.
Board and batten can be expensive, but they look sophisticated in any home or room. It can also be a fun way to add depth to an accent wall.
https://youtu.be/eDnb7N9_rWU
Raised Panels
Similar to baseboards, raised panels are often set against the floor or ceiling to offer a more pronounced molding in a room.
This paneling option has often been used in formal areas throughout colonial homes, giving dining or sitting roomshigh-end and fancy look to dinianels
They are often used in homes or commercial spaces to provide depths to walls and add a more durable material than drywall. Flat panels are laid on the wall and accented by the edges commonly raised above.
These panels can often be made of a synthetic material that imitates the look of wood.
https://youtu.be/AlEMsTRidLI
Installing the Paneling in Your Home
DIY wood paneling is possible, but we recommend talking with a professional if you're going after a larger area in the home. There is no sense in getting in over your head and being unable to finish the project. Here are the steps we'll review for installing reclaimed wood paneling.
- Gather the tools you'll need
- Prep the wall for installation
- Draw or tape or reference line
- Measure twice and cut once
- Adhere the panels with glue or nails
- Stagger your seams and
- Cut around outlets or other obstacles
- I admire your handy work
Step 1: Gather Your Tools and Materials
Before you can start, you'll need to gather any necessary toolsire ahe materials to complete the project. You can find reclaimed wood panels online or from local recycled wood dealers. These sellers often group different shades of wood so that the wood looks great when you install it.
Tools you'll need include:
- Construction adhesive
- Caulk gun
- Hammer
- 1-2 inch finish nails
- Stud finder
- Saw
- Pencil
- Tape measure
- Level
Optional tools to make the job easier:
- Paint supplies and paint
- Contour gauge
- Speed square
- Air nail gun
- Laser Level
- Tape
- Air compressor
- Jigsaw or Dremel tool
- Power saw
- Table Saw
- Miter Saw
You won't need all these saws at once, but depending on your project, it might not hurt to have them close by.
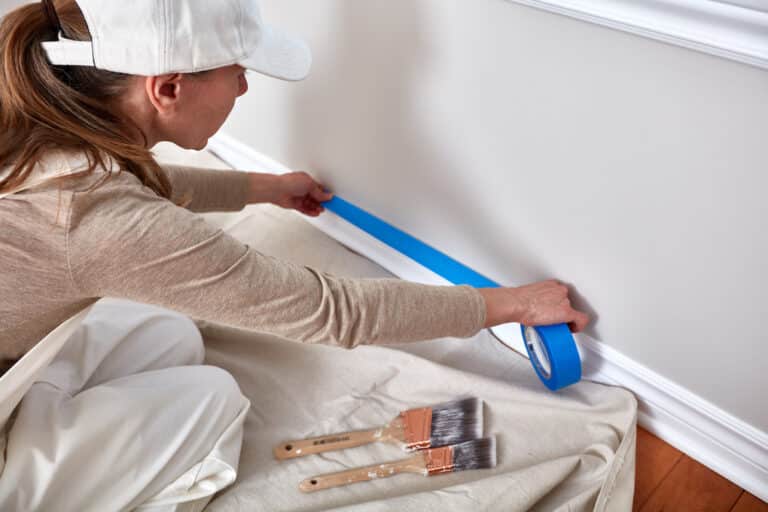
Step 2: Prep the Wall for Installation and Paint
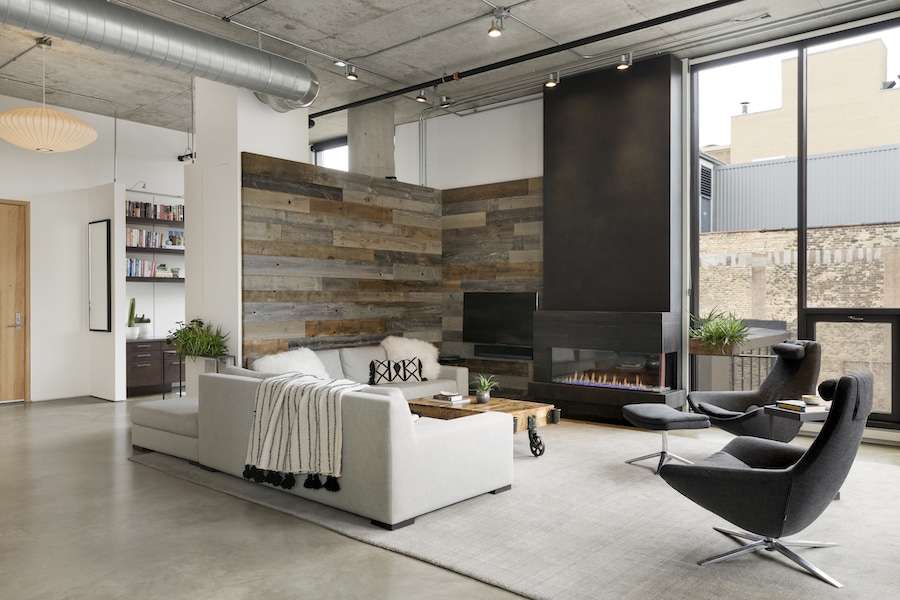
The next step includes some of the wall prep. But before you jump to that one, it might be a good idea to paint the wall you're installing. There are a few different options for color to paint the wall, but we recommend black.
When you're working with reclaimed wood, sometimes, it can have gaps and other characteristics that allow you to see through to the wall behind it. Painting the wall black makes it so that those features can stand out, and you don't see past it to a white wall behind the wood.
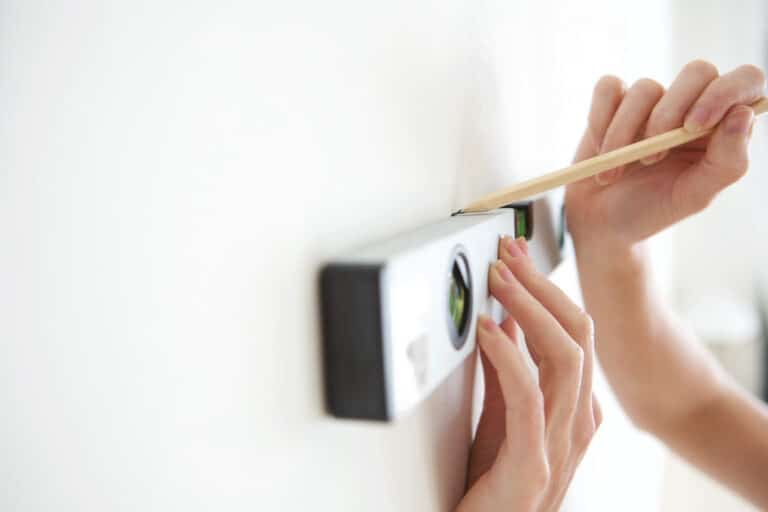
Step 3: Level and Create a Reference Line
The next step to ensuring that your wall is ready for the wood is to level and create a reference line to help you place the wood in a suitable space.
Laser levels work great to help create this line. Otherwise, you can use a tape measure and level. Consider using tape or a pencil to place that reference line where you need it permanently.
Step 4: Cut Your Boards Carefully to Size
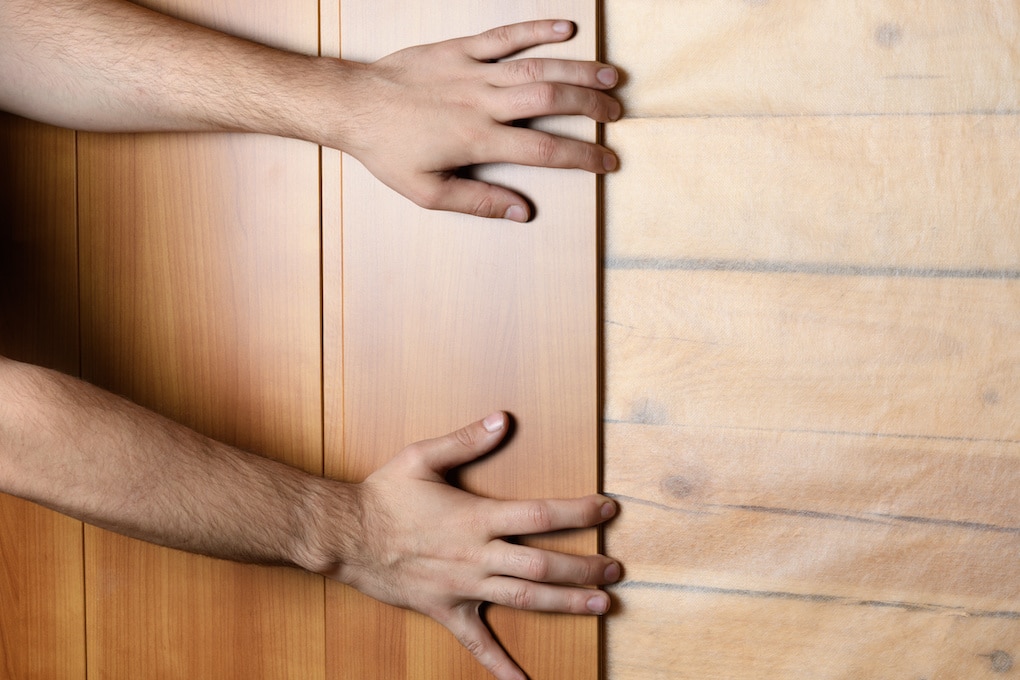
Next, you can place your first few boards. Depending on whether or not your boards are all the same size and what the wall is like that you're installing them on, you might only need to make one cut for the first few rows.
We recommend laying some of the boards out before installing them. If you move too quickly, you might find that you don't like the pattern of different wood grains together or that they won't fit how you wanted them to.
https://youtu.be/3-TBzj5U1wI
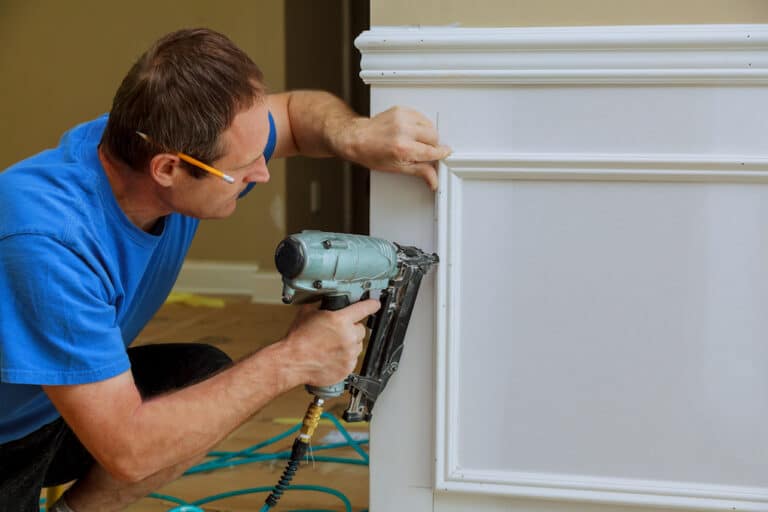
Step 5: Adhere the Boards to Your Wall
When you're ready to place the boards on the wall, you have a few options. You can use glue or nail the boards to your studs. Either way works, and sometimes homeowners or installers will opt for both if they're working with a heavier piece of wood.
When you're nailing the boards to your studs, you'll first have to find the studs with a stud finder and mark them out. If you use your level to mark the studs floor to ceiling, you'll only need to do it once, and you can then nail each board quickly and confidently.
https://youtu.be/-Go7CZYVDKU
Step 6: Stagger Your Seams During Installation
Staggering your seams on every row after the first is crucial to a great-looking reclaimed wood panel wall. You can do this by cutting the first board on every row down to around 6-8 inches from the first seam. Then, if all of your boards are the same length, you'll easily be able to install them without lining up the seams.
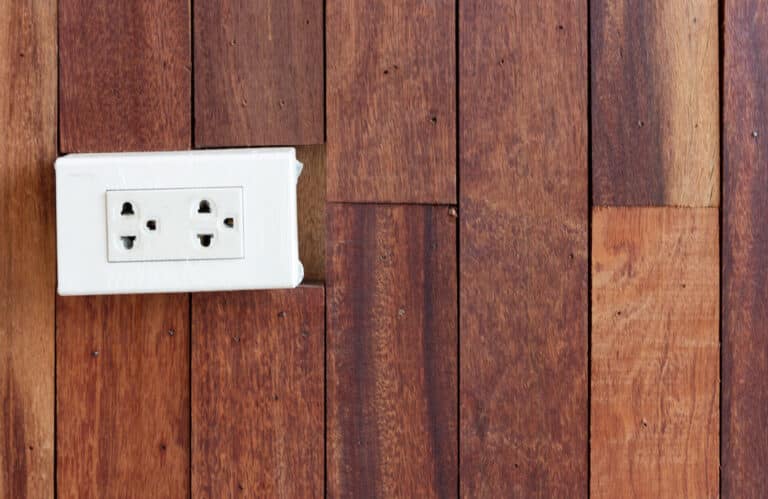
Step 7: Cut Around Any Obstacles as You Go
You may encounter obstacles as you work up the wall: outlets, light switches, and vents. You'll need to cut around these obstacles carefully. Make sure to measure a few times to get the cut right, and do not make any mistakes.
Hopefully, there aren't too many obstacles on the wall you choose to install the paneling on, but if there are, you'll need to go slow about it.
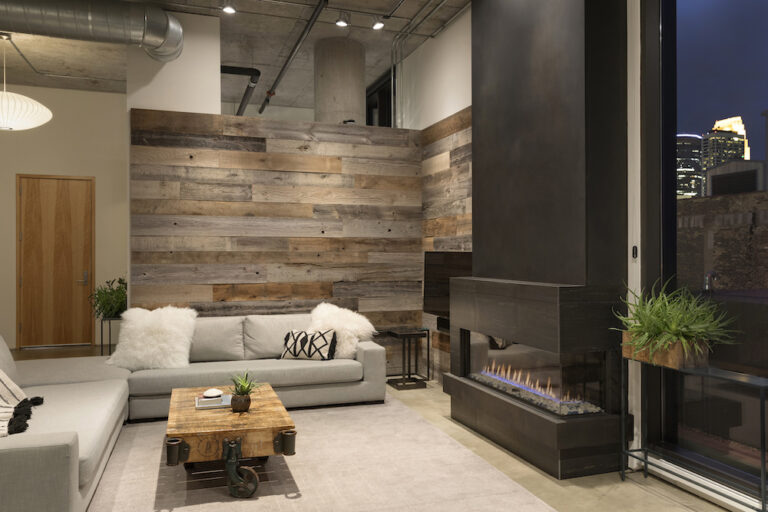
Step 8: Admire Your Handy Work
If you carefully followed our steps, it's time to admire your handy work. Installing one of these wood panel walls isn't always easy. You should be proud and ready to show off the wall to your friends and family the next time they stop by.
We hope this guide has helped you journey towards a wood-paneled wall. Remember, if you're looking for sustainable, long-lasting, and superior wall paneling, choose reclaimed wood from Manomin.
A reclaimed wood wall has a character that will look great in any home and be unique. Get an estimate from us today!
For additional sustainable practices, check out our friends at The Renewable Energy Hub regarding solar panel systems.
The Best Wood Flooring: 5 Reasons to Choose Reclaimed Wood
There’s a certain feeling you get when you walk into a home that instantly feels warm, grounded, and real. Not staged. Not overly polished. Just right. Often, that feeling starts underfoot.
Reclaimed wood flooring has a way of making a space feel lived-in from day one, […]
