How to Install a Heavy Wood Mantel (Beginner’s Guide)
Fireplace mantels are heavy and difficult to install but offer much to your fireplace. Whether you’re looking for an elegant wood mantel or something simple, we’re breaking down how to install it in your home. Enjoying fires with your new heavy wood mantel will help you make great memories and make your living room look beautiful. Purchasing a New Wood Mantel Before you’re able

By Sarah Londerville | Updated June 27, 2024
Fireplace mantels are heavy and difficult to install but offer much to your fireplace. Whether you're looking for an elegant wood mantel or something simple, we're breaking down how to install it in your home.
Enjoying fires with your new heavy wood mantel will help you make great memories and make your living room look beautiful.
Purchasing a New Wood Mantel
Before you're able to install a new fireplace mantel you'll have to purchase one. Finding a place that sells mantels isn't hard at all, but finding the right one for your home isn't easy. We have mantels available on our website that are pre-cut; if you want something custom, we can also accommodate that.
Check out our website or Pinterest for wood mantel inspiration. We'd love to help you get the right piece of wood for your home, but there are several places where you can find great reclaimed wood mantels.
Installing the Heavy Wood Mantel
After you've purchased the mantel, you'll be ready to start the installation process. We'll break down this process, including the tools you need and how to get started. But if you're looking for a more visual approach, check out this great video.
https://youtu.be/agFW1jAEol0
Tools You'll Need
What tools you use to install the mantel might depend slightly on whether you're installing the mantel on a brick surface or just a sheetrock surface. Here are all the tools you'd need to take on the project.
- Hammer Drill (for brick installation)
- Masonry Drill Bit (for brick installation)
- Circular Saw or Hand Saw
- Three Foot Level
- Torpedo Level
- Caulk Gun
- Screw Driver
- Drill
- 3/8 Inch Drill Bit
- Tape Measure
- Pencil
That should just about do it. Depending on the surface you're installing into, there will also be a need for lag bolts and possibly masonry anchors.
Methods for Installation
There are a lot of different ways that you can install a fireplace mantel. Here are a few of the easiest that can work great for DIY installation.
Slide Over Bolts Method
This method is particularly good for those installing a mantel in a new home or location without a fireplace. Here are the steps to follow:
- Locate your studs. Whether behind freshly installed brick or sheetrock, you'll need to find them.
- Next, you'll need to drive a 1/2-inch lag screw through each stud you'll be using based on the length of your mantel. It's ideal if the lag bolts can go through the stud and then about 2/3rds of the way into the mantel. You must measure these lags so that they're all at or close to the same height from the ground.
- Cut the heads off of the bolts and hold the mantel up where it would slide onto the bolts. Mark where the bolts would be inserted and drill holes in your mantel where the bolts slide in.
- Apply construction adhesive to the inside of the mantel holes and the back of the mantel if it will be able to stick to the surface.
- Slide it into place and ensure the glue is holding it in place. Allow the glue to dry for 24 hours, and then check the adhesion.
Anchored in Masonry
If you cannot locate studs behind your stone or brickwork, it is possible to anchor the mantel to the stone or brick, but it's crucial that it's at least 4 inches thick to support the mantel effectively. Here's how to do it.
- Hammer drill 3/8 inch holes into the stonework.
- Use a lead masonry anchor and an expansion bolt.
- Repeat steps 3-5 from above.
Backer Board Installation
Next is the backer board method. It's a straightforward way of installing a mantel, and many people would argue that it's easier and stronger.
- First, cut a backer board that is the same depth as your masonry surface is thick.
- Attach your backer board to each stud that it covers with at least two lag bolts for each stud. Be sure to pre-drill a countersink so the bolt head can flush with your wood.
- Temporarily clamp the mantel to the backer board. Pre-drill your screw holes and screw lag bolts through the backer board and into the mantel. Like before, the bolts will need to cover around 2/3 of the mantel depth and the thickness of the backer board.
- You can finish the masonry work or sheetrock around the mantel when you're finished.
Stud Supported Corbel
Corbels are often attached to your fireplace mantels, but they likely aren't just a decorative display. Corbels can be attached to the studs behind the mantel and offer a very strong and sturdy mounting structure. Here's how to install this method:
- Find corbels around as long as the depth from the inside of your studs to the outside of the finished mantel.
- Carefully cut out a tight notch from the corbel where the stud can sit.
- Use bolts through the corbel and stud to fasten them together.
- Install the masonry or sheetrock around the fireplace and finish it.
- Apply adhesive to the top of your corbels, position the mantel where it will sit, and clamp it until dry.
This method works great, and it's easy to access the studs. We highly recommend it because it can look great as well.
We hope this guide helps you install your new wood fireplace mantel. Remember always to take your time, measure twice and drill once. Making mistakes on projects like this can cost you. Ideally, you can get that mantel installed without any big hiccups.
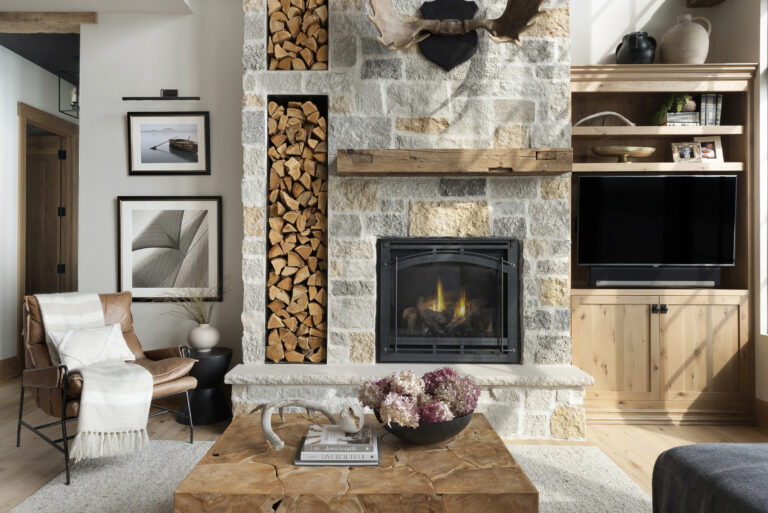
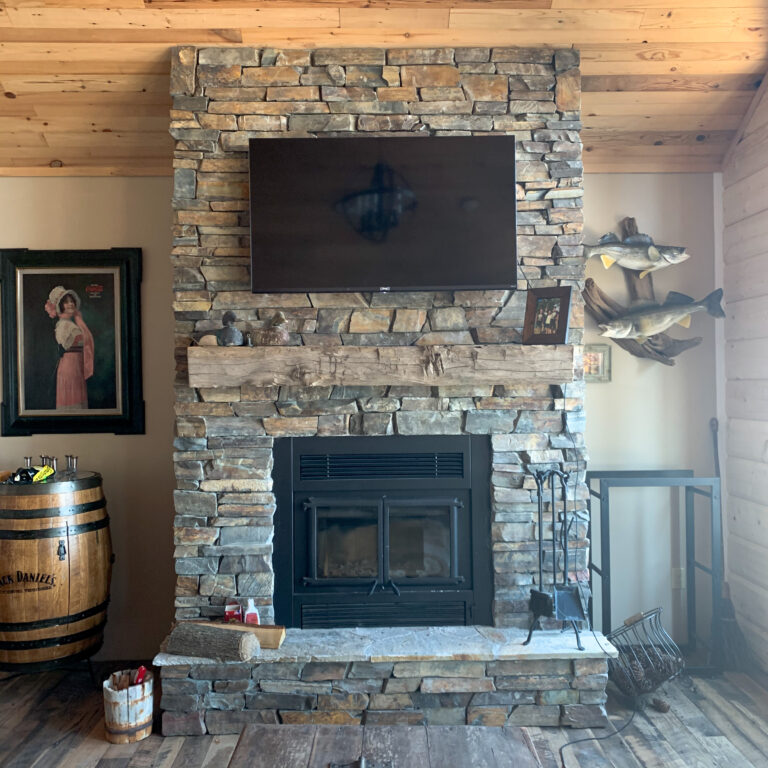
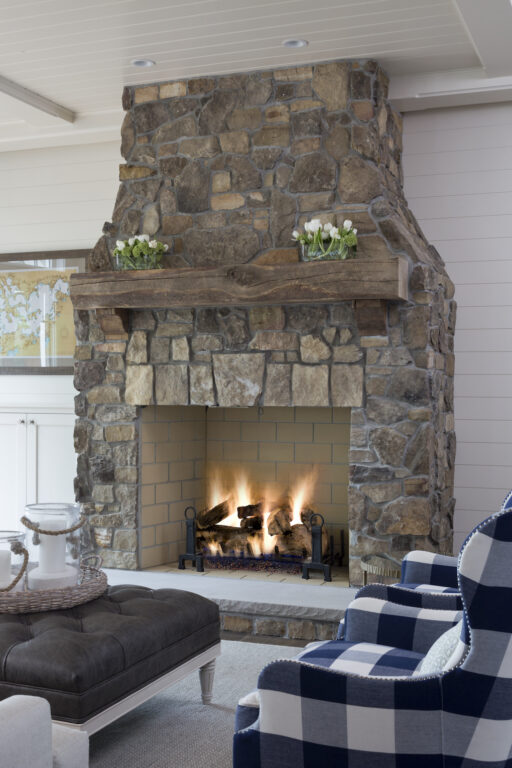
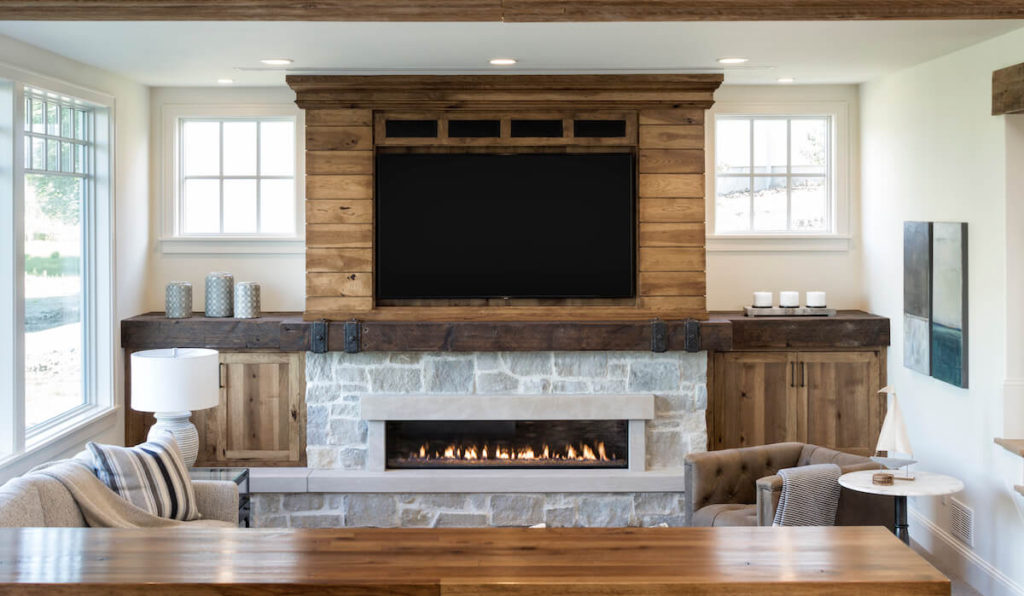
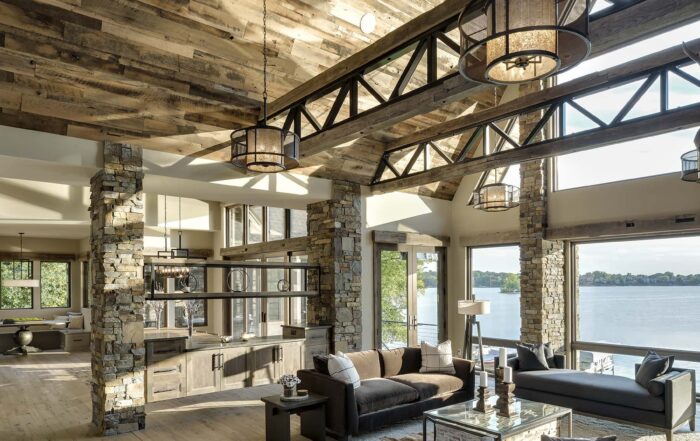
Our reclaimed wood fireplace mantels will be your home's focal point. Because our mantels are made from reclaimed wood beams, they're full of character and can be finished to fit your needs. Dark wood, lighter wood, and everything in between are available at our showroom.
Reach out for a free quote today.
The Best Wood Flooring: 5 Reasons to Choose Reclaimed Wood
There’s a certain feeling you get when you walk into a home that instantly feels warm, grounded, and real. Not staged. Not overly polished. Just right. Often, that feeling starts underfoot.
Reclaimed wood flooring has a way of making a space feel lived-in from day one, […]
