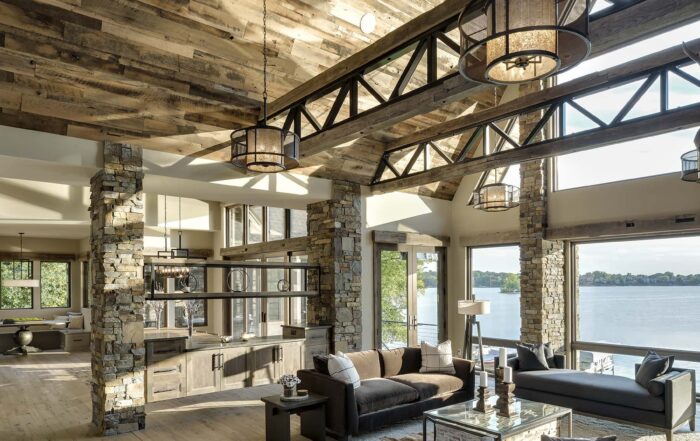
Reclaimed Wood Beam Installation: Everything You Need to Know
Installing a wood beam isn’t necessarily easy by any means. It can actually be really challenging to get it right. But the value and beauty that a reclaimed wood beam adds to your home is huge, and the benefits are long-lasting. Our guide will help walk you through the installation process, from purchasing a beam to installing it and making sure it’s structurally sound.
By Sarah Londerville | Updated November 29, 2021
Installing a wood beam isn't necessarily easy by any means. It can actually be really challenging to get it right.
But the value and beauty that a reclaimed wood beam adds to your home is huge, and the benefits are long-lasting. Our guide will help walk you through the installation process, from purchasing a beam to installing it and making sure it's structurally sound.
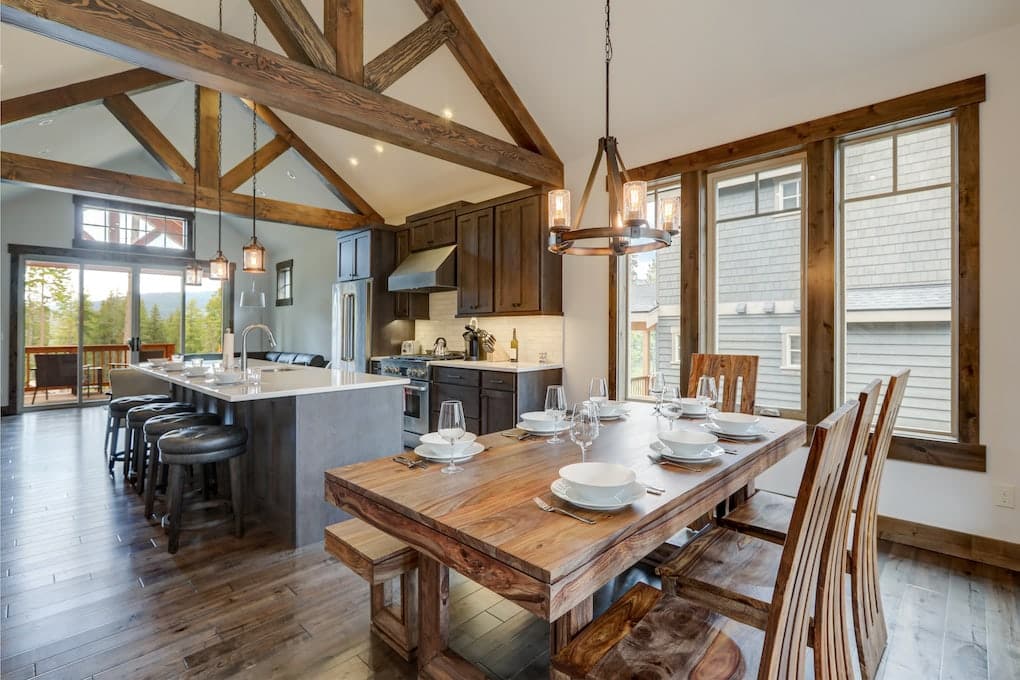
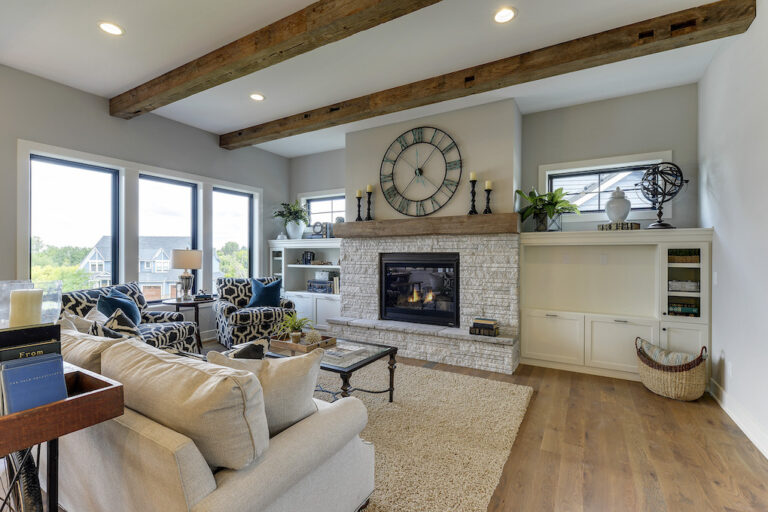
Gather Inspiration from Designers and Other Homes
Before we get too far into it, it's important to gather some inspiration for your project. Whether that be Pinterest, blog posts like this one, or designer magazines, you should know exactly what you're looking for so that you can successfully achieve just that.
This quick search on Pinterest offers lots of ideas. The key here is finding the right beams that both fit your style and roof type. Some homes will have sloped roofs, while others might have flat ceilings.
Other tips like this blog post will help you find the right beam design for your home, so it looks great every time you step inside.

Find the Right Beams for Your Home
After you've got a good idea of what you're looking for, it's time to find the right beams for your home. There are two ways to go about installing beams. If your home is already built, then you'll likely just be adding decorative beams. If your home is still being built, then there's always the chance that you could get structural wood beams added.
Decorative Beams
Decorative beams are great options because they can be very cost-effective and easy to DIY. When you're installing them, the main focus is simply attaching them to the ceiling and then making sure they look good and will stay there.
Decorative beams are also really easy to fake by taking three different wood planks and creating a box with them that you attach to your ceiling. This makes it look just like you have real wood beams on your ceiling when in reality, they're just boxes.
Structural or Bearing Beams
If you're building a new home and want the real deal, then structural beams are what you're going for. Wood beam installation can get pretty complicated here because they actually need to carry weight. For that reason, you'll want to have an engineer and builder help you get those beams up in your house. These beams are going to be expensive and extremely heavy but can add a beautiful touch to your home.
For the sake of this blog post, we'll focus more on decorative beams than structural. Wood beams that bear weight can be a big safety hazard, and it's important that you know what you're doing before trying to install one on your own.
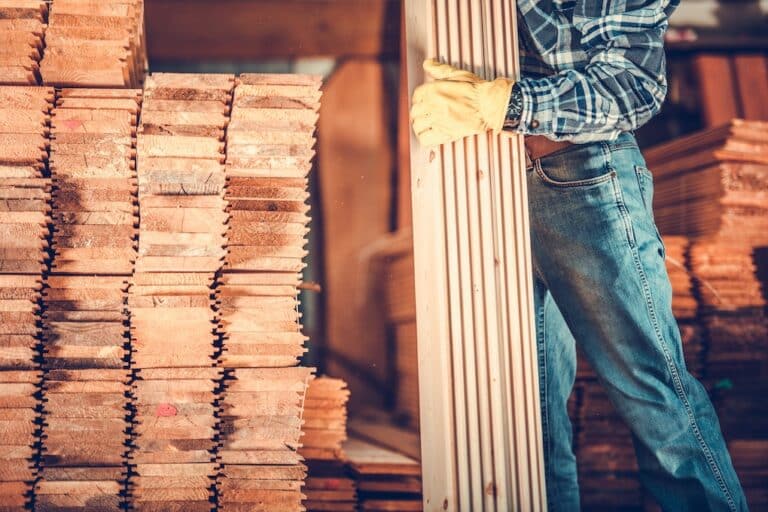
Purchasing Reclaimed Wood
When you're ready to purchase reclaimed wood beams or planks to make box beams, you'll have to contact local reclaimed wood dealers in your area. At Manomin Resawn Timbers, we carry a large supply of both timbers that can be used for beams and planks that could be used for box beams.
Either way, you're getting real reclaimed wood that's full of character and life. Many times we can even tell you where that wood came from.
Gather Installation Materials
You've got your inspiration, and you've likely got an idea of where you'll be purchasing your reclaimed wood. It's now time to start gathering the rest of the materials you need to install a box beam in your home. Here's what you'll want to have handy for the job.
- Measuring Tape
- Circular or Miter Saw
- Chalk Line
- Wood Glue
- Ladder or Scaffolding
- 2x4 Nailing Boards
- Finish Nails
- Hammer or Nail Gun
- Stud Finder
- Brackets
Most of these tools and materials should be easy to find at your local hardware store.
Installing Your Wood Beams
You're now ready for the DIY installation. It's important that you feel comfortable completing DIY projects in your home. Installing box beams or false beams isn't really the best place to start, and sometimes it can be a tricky business depending on how your home is laid out.
Be sure to check out this video for a great visual and explainer of what to expect when it comes to installing faux-wood beams. Everything laid out in this video should give you a good idea of what to expect from the project.
https://www.youtube.com/watch?v=Gx2zKMNNW60
Prepare the Ceiling and Wood for Installation
The first step to installing your beams is making sure that the ceiling where you want them to go is ready for installation. Even faux or box beams are heavy and can have a huge impact on your ceiling if they're not installed correctly. Next, you'll want to use your stud finder to find the floor or ceiling joists throughout the area where you'll place the beams. Finding these in advance will help you determine where you place them.
When it comes to working with wood, it's good to know that it will do a lot of expanding and contracting depending on its environment. For that reason, it's important that you place it in the area of the home where it will be installed for 7-10 days before installation.
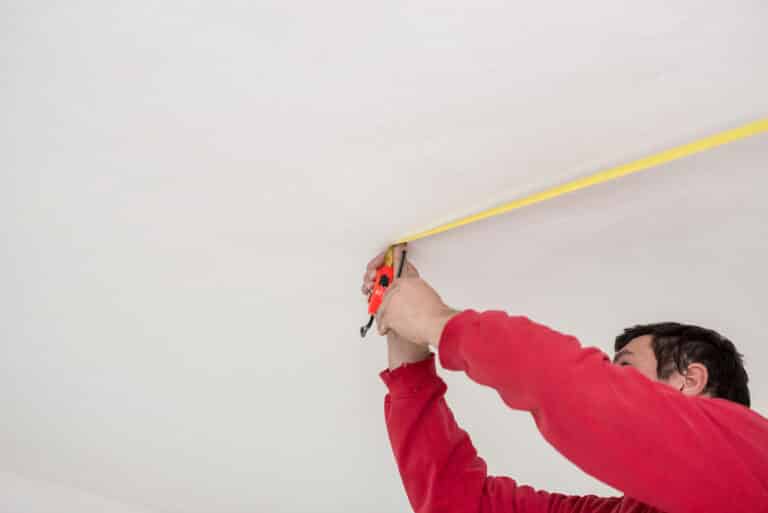
Measure the Area Where You'll Be Installing Your Wood Beam
Now that your wood is accustomed to its location, you're ready to start measuring the area where it will be installed. Depending on your situation and the place you're putting it, you'll need to consider how tightly it will be placed to the adjacent walls. In this case, be sure to watch closely. Measure twice, cut once, and you'll be getting the job done faster with fewer errors.
Secure the Brackets to Your Ceiling
When everything is marked out and measured, you can start to secure the brackets to your ceiling. It's a straightforward process, but this portion is of utmost importance. How you attach the beams or faux beams to your ceiling will be detrimental to how they turn out. And, it will keep the beams up on the ceiling where they belong.
Installation
Lastly, we have installation. This is the fun part and the first chance you'll have to see what the beams will really look like on your ceiling. Make sure to do this step carefully. Wood beams can be heavy (even box beams), and you don't want anyone or anything getting hurt or broken during the installation process.
Once everything is up, nailed down securely through your brackets, then it's time for finishing touches like stain or paint. If you're using real wood, there are plenty of options out there that will make each set of beams look great and age-appropriately. But when you're using reclaimed wood, you might just consider leaving it raw and plain to let off the wood's natural character.
Tips for Successful Installation
Installing beams or faux wood beams can be done easily as long as you take your time and prepare well. A few easy tricks will make the job go faster, smoother, and more efficiently.
Use Wood Glue for Box Beams
Wood glue is great to use when it comes to securing box beams because of its stiffness and durability. Wood glue is a good choice for these beams because it will provide the highest level of adhesion between each piece and the ceiling. It's a great extra beyond just nailing them.
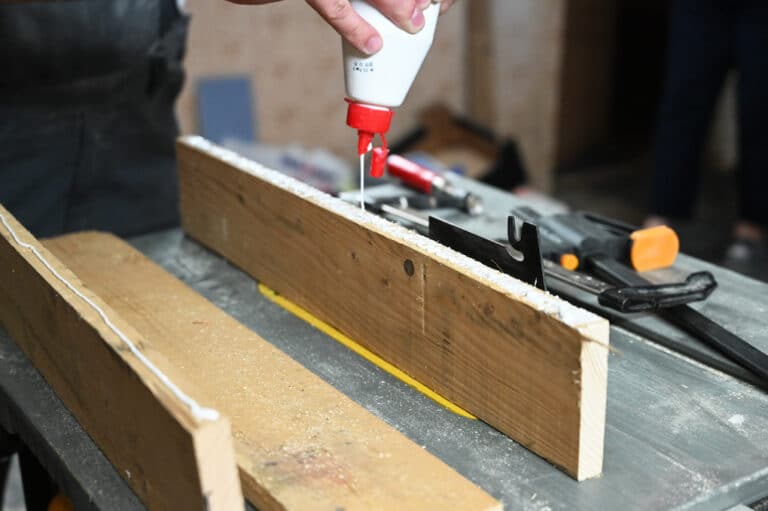
Go Slow When Nailing them Together
Nailing beams together is a tricky process and one that needs to be done with care. Wood can split easily if nails are hammered in too quickly or with too much weight. Wood glue is a great way to prevent this, but keep in mind that you'll need to wait for it to dry before finishing the process.
Calculate Wood Beam Weight before Installing Them
This is another important point that's easy to forget about. Wood beams can be heavy, and if they're not secured to the ceiling correctly, they could cause serious damage. Remember that every time you go up or down the ladder. Wood beams are heavy so try your best to avoid carrying them up and down everything you can.
Be Sure Your Wood Beam is Secure and Safe
Lastly, make sure your wood beam is secure before you consider it safe. Wood glues can be strong, but they cannot hold the weight of the wood beams on their own. Wood is heavy, and it will eventually sag. This means that your beam needs to be secure enough not just to hold the weight of the wood but also to hold up over time. Wood beams can sag, and so they need to be nailed or screwed into place on the ceiling securely.
Cost of Wood Beams
Of course, if you want to know how much these beams cost. It's hard to say the exact cost because each piece of reclaimed wood is unique and, in its own way, costs a different amount.
But, that being said, you can expect the average price to be around $15 a square foot or linear foot, depending on where you're purchasing it. This price could go up or down depending on the overall length as well.
The best way to know the exact price you're looking at is to contact a local reclaimed wood dealer like MR Timbers for a quote. Reach out to us today, and we'd be happy to provide you with a quote and cost estimate for your wood beams.
If you're not up for the DIY project, we'd also be happy to refer you to a builder that may be able to help with your project.

The Best Wood Flooring: 5 Reasons to Choose Reclaimed Wood
There’s a certain feeling you get when you walk into a home that instantly feels warm, grounded, and real. Not staged. Not overly polished. Just right. Often, that feeling starts underfoot.
Reclaimed wood flooring has a way of making a space feel lived-in from day one, […]
