DIY Wall Panels: 6-Step Installation Guide
There’s just nothing like a reclaimed wood accent wall. With so many stunning variations, the possibilities of how you can incorporate a wood wall into your home are truly endless! Creating your own wood wall doesn’t have to be a DIY project, you can hire contractors and professionals to help you install the wood wall. But, if you do want to do it on

By Sarah Londerville | Updated February 22, 2026
There's just nothing like a reclaimed wood accent wall. With so many stunning variations, the possibilities of how you can incorporate a wood wall into your home are truly endless!
Creating your own wood wall doesn’t have to be a DIY project, you can hire contractors and professionals to help you install the wood wall. But, if you do want to do it on your own, this guide is a step-by-step guide on how to install DIY wall panels.
Before we dive too far in, if you're still looking for the wood to complete this project, reach out to us! At Manomin Resawn Timbers, we provide reclaimed wood for all kinds of different projects.
Whether you're looking to do a reclaimed wood wall or want a new fireplace mantel, we've got the wood for you. Be sure to check out our blog for more on how you can use reclaimed wood throughout your home.
Tools You’ll Need for Your DIY Wall Panels
You're definitely going to need to make a run to the hardware store before getting started on the undertaking of these DIY wall panels
Having the right tools for the job is going to help you do it right and get it done quickly. Here's what you'll want:
- Construction adhesive (something like Liquid Nails will do the trick)
- Hammer
- 1 - 2 inch brad/finish nails
- Saw
- Pencil
- Tape measure
- Level
Other things you might find useful include painting supplies, a sharpie, an air nail gun, a laser level, tape, a compressor, a jigsaw or Dremel tool, a power saw, a table saw, or a miter saw. Obviously, that's a lot of tools for a small DIY project. But if you're using a large wall for your DIY wall panels, you'll want to be fully prepared for it.
The Step-by-Step Installation Guide
Choose Your Wood
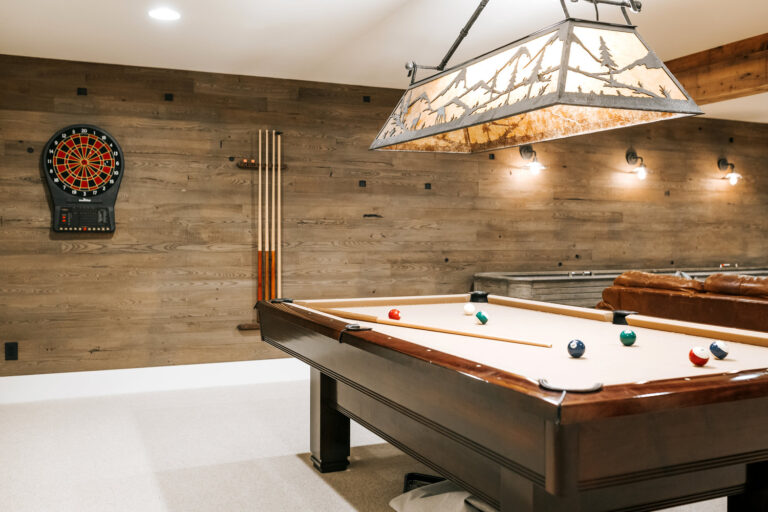
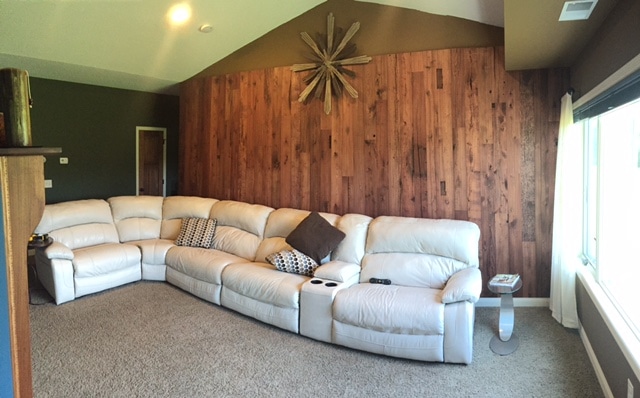
The first step in installing anything with wood is choosing the wood you'll use for the project. In reality, any reclaimed wood will work. Some people might really like the way reclaimed barn wood looks. Others might choose something different. No matter what you choose, it's important that all of the wood is coherent and works well together. Some variations are great, but overall, you'll want the wood to match.
Here are some examples of the different reclaimed wood panels we offer.
Clean and Prep
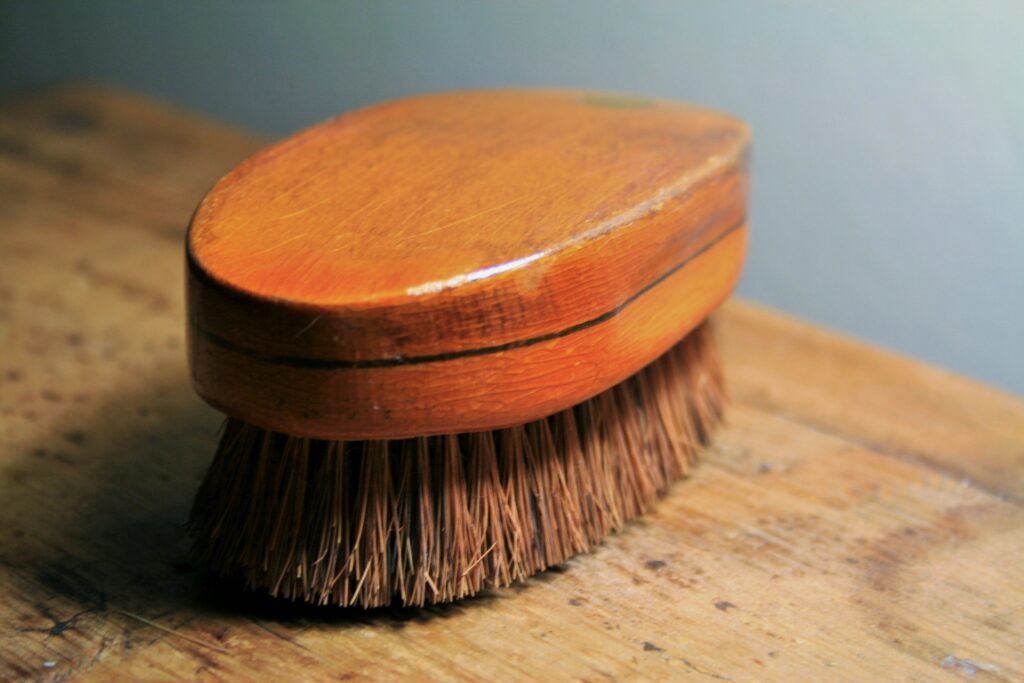
When you get the wood that you want to use for your project, you’ll have to clean and prep it before installing your DIY wall panels. Depending on where you purchase or source the wood, the amount of cleaning and prep will differ. When you get wood from a place like us here at Manomin Timbers, you won’t have to do as much cleaning and prep, but it still helps to give it a good brush-off to ensure you’re not bringing dust and dirt into your home.
If you're reclaiming the wood on your own, then you'll need to clean all of the wood yourself. The hard thing about reclaiming wood on your own is when you need to clean and prep it. There's a lot that goes into it, and it's important that you do it right to ensure that you don't have any future issues with the wood. Here's our guide on how to clean reclaimed wood.
Prep the walls
Now that your wood is ready, it’s time to prep the walls before installing your DIY wall panels. There are two general rules for putting wood paneling up on walls or ceilings: either you paint the wall, or you paint the wood.
Painting the wall ensures you won’t see the surface behind the panels. Reclaimed barn wood can be especially full of character, and sometimes small holes, which can make the wall behind it visible. To properly install the boards, paint the wall brown or black before installation.
Additionally, if you're installing the boards you bought vertically across the wall, you'll need to install horizontal strapping that you can nail them to. You can use a stud finder and an air nailer or hammer to find your studs and install the strapping.
Cut the Boards
Next, you'll need to square off the ends of all the boards that you're going to be using. After that, you can use a tape measure, speed square, and a pencil to measure and mark where to cut the boards. You'll want to cut the boards while also following the next stop and laying out those boards.
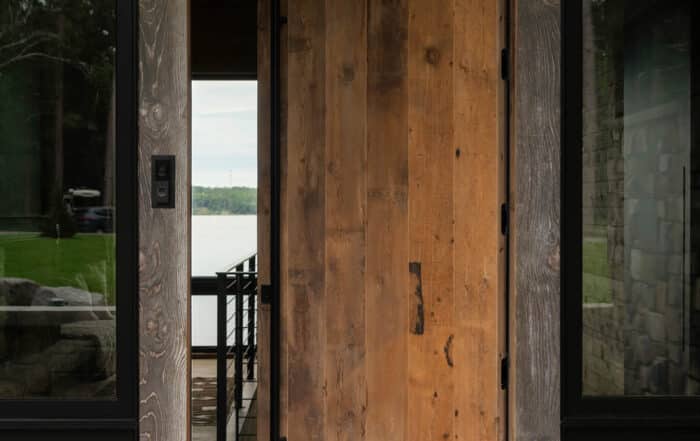
If you're installing vertically (not as common), all of your boards will be the same length. You'll still want to follow the next step and lay them out to ensure that your ceiling-to-floor height doesn't change at all.
Lay Out the Boards
Before installing reclaimed DIY wall panels, take time to lay out the boards, especially if you’re working with reclaimed barn wood or other materials with natural imperfections. Skipping this step could result in an accent wall that doesn’t look as cohesive as it could.
Starting in the middle of the wall, lay out the boards in the places you like them. You'll likely need to lay them out in different patterns for horizontal installation to ensure that the wall will look good after it's installed. The pattern differences are important, but a true accent wall will flow nicely together and not look like a bunch of mismatched boards.
Don't Go for Perfection
When installing DIY wall panels with real wood planks, perfection isn’t the goal, and it’s not really attainable. Instead, focus on creating the best reclaimed wood accent wall possible. Take your time, work carefully, and aim for a layout that flows together naturally.
We hope you've enjoyed this DIY wall panels step-by-step installation of reclaimed wood. Be sure to check out our website for more information on reclaimed wood and our blog for more DIY friendly projects.

5 Custom Cut Wood Projects That Bring One-of-a-Kind Character to Your Home
Your home should feel like it belongs to you, not a showroom, not a catalog, and certainly not a copy of someone else’s space. One of the most meaningful ways to create that sense of individuality is through materials that carry both history and intention. That’s where custom […]
3 Tips for the Best Kitchen Flooring That Works With Your Cabinets
One of the most difficult parts of any remodel or home build is figuring out the color combination to make the best kitchen flooring match the cabinets in your home.
While yes, there are plenty of different styles and colors you can go with that all look great, you still want […]