How To Build A DIY Reclaimed Wood Planter In 7 Easy Steps
Reclaimed wood planters are great additions to outdoor landscapes, whether you live in the city, suburbs, or an apartment. Apartment decks are especially good locations for wood planters because they don’t take up too much room and offer a great place to grow plants. If you like indoor plants, you could use your new wood planter inside as well! Here’s how to make a DIY

By Sarah Londerville | Updated December 17, 2021
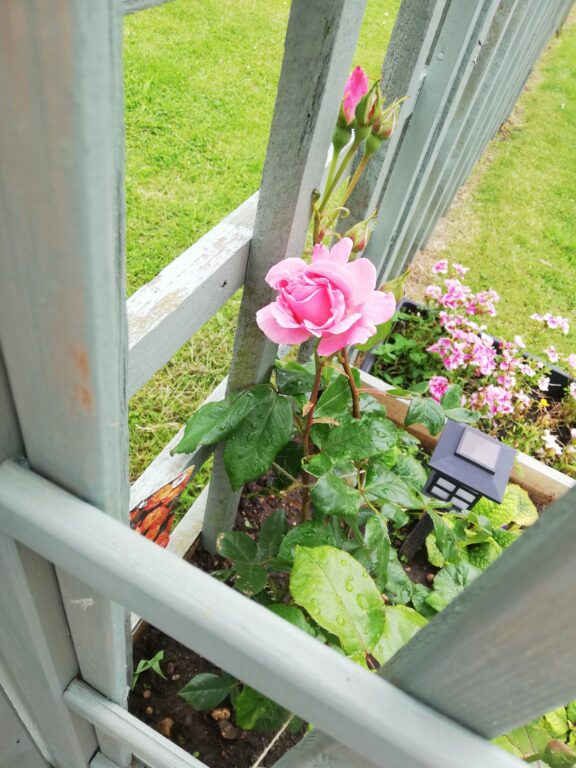
Reclaimed wood planters are great additions to outdoor landscapes, whether you live in the city, suburbs, or an apartment.
Apartment decks are especially good locations for wood planters because they don't take up too much room and offer a great place to grow plants.
If you like indoor plants, you could use your new wood planter inside as well!
Here's how to make a DIY reclaimed wood planter.
7 Steps To Build A DIY Reclaimed Wood Planter
1. Decide on the Size
Before you can start building a rustic wood planter box or a barn wood planter box, you'll need to decide on how large or how small of a planter box you desire. Some larger planter boxes are great for vegetable gardens, bushes, or even small trees.
You can find some inspiration on Pinterest. After you've decided on the size, it's time to get some wood!
2. Finding Reclaimed Wood
Of course, to build a reclaimed wood planter box, you'll need to have access to reclaimed wood. Depending on the size of the planter that you're looking for, you might consider looking for old fences pieces, old barns, used decking, or contacting a reclaimed wood company like MR Timbers.
In true, DIY fashion, you'll need to also prep the lumber you find on your own to ensure that you can work with it. It's best if you can first clean the reclaimed wood and de-nail it or remove any other embedded metals. Cleaning up the lumber for your project can be as simple as hand washing the wood. Note that finding a piece of wood with a lot of nail holes won't work the best for a planter box.
3. Building the Planter Box
After you've got the wood, clean it, and prepare it for use. You can get to the building part. This is the most fun part of any DIY project. All you'll need is a couple of tools and a plan to follow. If you're looking to build a really simple box, this post has a video and diagrams to explain everything you'd need to know.
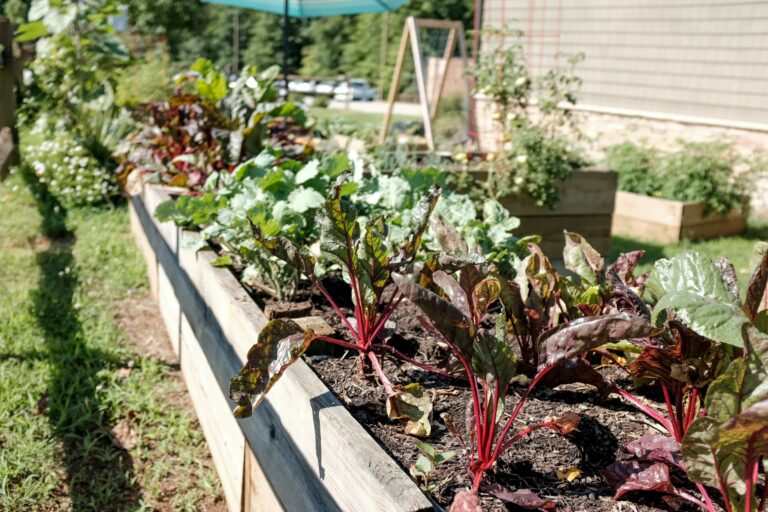
If you're looking to build something bigger like a raised garden bed, this post is great!
When you're finished building your reclaimed wood planters, you can treat them with stain or paint before adding your dirt, flowers, or vegetables.
4. How to Treat Reclaimed Wood
If you want your reclaimed wood planter box to last, you'll need to treat it in some way to keep it from rotting over time. If you plan on leaving your planter outside, as most wood planters are, pay special attention to this portion of the process.
The majority of this eight-step process should have been completed before the planters were built. Here's how it goes.
- Make sure that the wood is clean.
- Check the wood for nails, screws, or other embedded metal.
- Check for bugs and pests that you'll want to get rid of.
- Prime the reclaimed wood with a termite-resistant solution. (Borax works well for this!)
- Strip any paint from the wood's previous purpose.
- Sand the wood to smooth it.
- Apply a wood finish or paint.
- Finish the wood with a sealant.
The two steps that you'll want to pay most attention to during this process are applying a treating for bugs, pests, and termites, applying finish or paint, and sealing the wood. We'll go more into depth with each of them here.
5. Treating for Bugs and Pests
As long as you've properly prepared and cleaned your wood, treating it for bugs and pests isn't too difficult at all. You'll only need to apply a simple spray on the borax solution to the wood and allow it to dry. Here's a simple explanation of how borax works and how to apply it to the wood.
6. Applying a Wood Finish or Paint
Whether you decide to apply a wood finish or paint is completely up to your discretion. Many believe that painting over reclaimed wood is a waste because it covers up all of the characters that the wood has established. But if you like the idea of using paint as a nice accent to some natural wood, it might be a good idea!
When shopping for paint/finish, you'll want to ensure that the products are labeled for use outdoors and that the paint is designed to be applied to wood. You should be able to tell by the label on the paint, but if you have questions, be sure to ask a sales associate at your hardware store.
7. Finishing the Wood with a Sealant
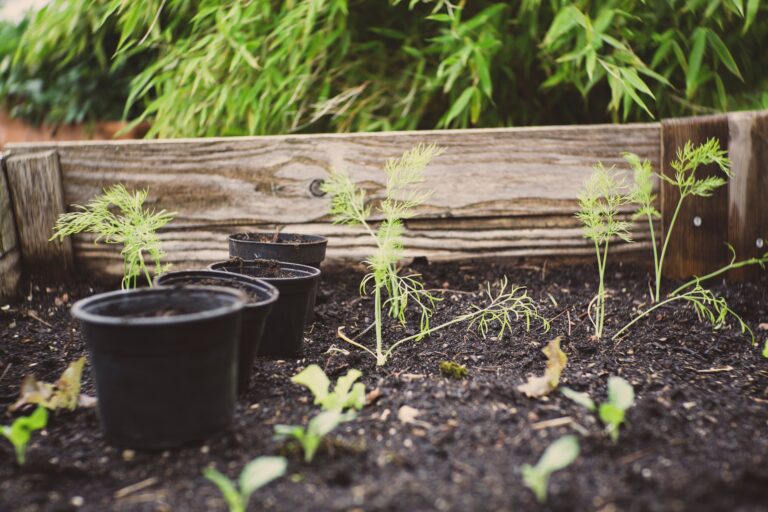
Finally, you'll want to finish the wood with a sealant before you add dirt or the plant that you'll be growing. This step is fairly easy; all you'll need is a good sealer that works when applied for outdoor use. The sealer will help your reclaimed wood planter box last for years to come!
Reach Out To Us For Help!
We hope that you've found this blog post helpful! If you need any help finding some reclaimed wood, be sure to reach out to MR Timbers! We're always happy to help our customers create some of the most beautiful reclaimed wood projects!
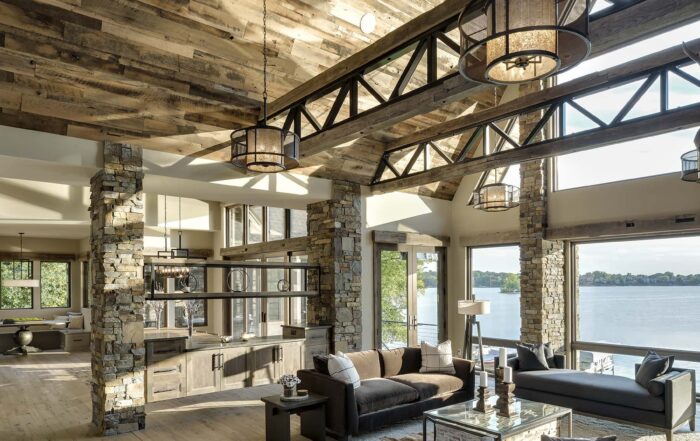
The Best Wood Flooring: 5 Reasons to Choose Reclaimed Wood
There’s a certain feeling you get when you walk into a home that instantly feels warm, grounded, and real. Not staged. Not overly polished. Just right. Often, that feeling starts underfoot.
Reclaimed wood flooring has a way of making a space feel lived-in from day one, […]
