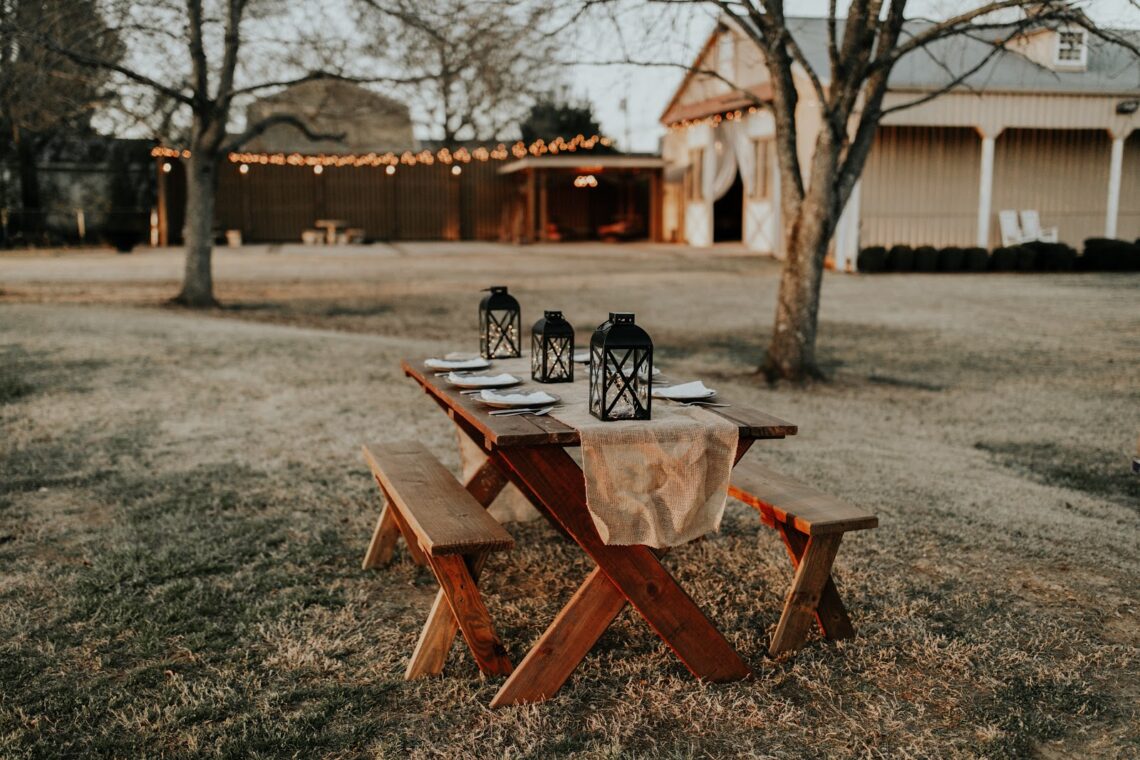
DIY Reclaimed Wood Bench and Table
Reclaimed wood benches are versatile, beautiful pieces of furniture that can be used both inside and outside. There are many different ways to use reclaimed wood, and creating a bench is one of our favorite solutions, as well as a creative way to add to the aesthetics of your home easily. After all, what’s better than buying a beautiful reclaimed wood bench? Building one

By Sarah Londerville | Updated March 11, 2026
Reclaimed wood benches are versatile, beautiful pieces of furniture that can be used both inside and outside. There are many different ways to use reclaimed wood, and creating a bench is one of our favorite solutions, as well as a creative way to add to the aesthetics of your home easily.
After all, what's better than buying a beautiful reclaimed wood bench? Building one yourself!
Today we're going to walk you through the steps of building your own reclaimed wood bench. By the end of this article, you'll be able to create your own piece of furniture. Let's get started!
Things You'll Need
Here are some of the things you're going to need to build your new rustic wood bench.
Tools:
- Wood Glue
- Hammer or Finishing Nailer
- Nails
- Drop Saw or Circular Saw
- Tape Measure Pencil
- Clear Varnish or Stain
Whether you choose varnish or stain is completely up to your personal preference. A clear varnish will bring out the wood’s natural color, and varnish will change the shade while leaving the character intact. Whatever you do, don’t paint over reclaimed wood. By painting it, you’ll hide all of the characters and reasons that it’s valued as reclaimed wood.
Materials:
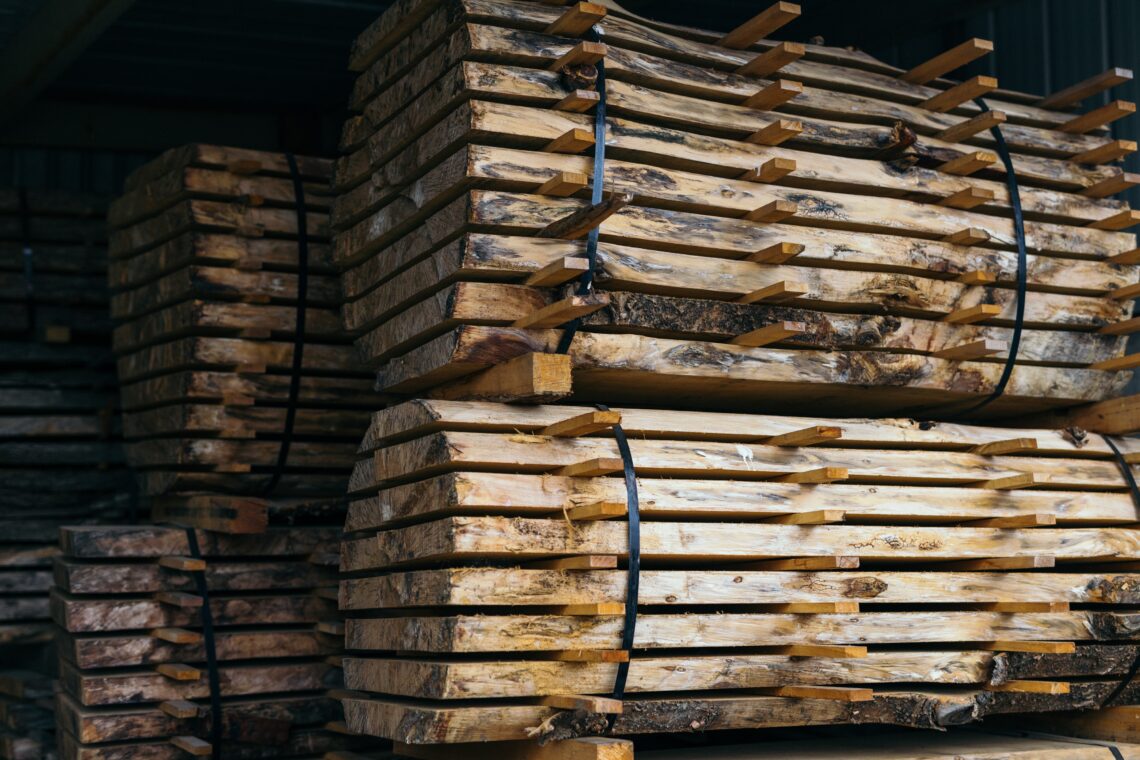
- Reclaimed Lumber
Depending on how large of a bench and table you’d like to build, you might want to adjust the wood amount slightly. Be sure to consider that different types and styles of benches and tables will require different amounts of wood to build them. The bench and table that we’ll be looking at requires nine 2x6 planks at six feet long and four 2x4 planks also at six feet long.
Getting Started
First things first, you need to prep your reclaimed wood planks for the project. Rougher reclaimed wood might need a slight sanding before it’s ready to be used for a bench. Be sure to sand it before assembling because that’s the easiest way to get to all of it.
After you’ve got all the wood cleaned up, you’ll be ready to cut the pieces to size so that you can use them for the bench and table. This specific set is similar to a picnic table, but would work well indoors as well. First, you’ll want to set seven of the 2x6 planks aside (these will be used for the table’s surface and the bench). Take the other two 2x6 planks and cut them both in half at 36 inches.
Building the Top of the Table
Putting together the top of the table is much simpler than you’d think. For those that are visual learners, check out this great instruction video!
https://youtu.be/nyB8mFXZdEI?t=23
Otherwise, here’s how you’ll start:
Seven of your 2x6 planks need to be laid out on a flat surface with sixteen penny nails between each piece of wood. Then, you’ll need to cut one 2x4 board into three equal pieces around 24 inches each. These 2x4 pieces will then need to be glued and nailed (or screwed) into the bottom side of the top of the table.
After this is finished, we can move on to the legs for the table.
Cutting the Angles for the Legs
Take the four pieces of wood that you’ve already cut at 36 inches. After you have the four table legs, you’ll have to determine the angle at which to cut them. It’s important to angle the legs on the table because it helps to keep the table stable and so that the table doesn’t fall over easily. Consider using an angle finder like this one at Home Depot to help with cutting the angles. If you don’t know how to cut angles, here is a short informational video. A standard angle for the table legs should be around 28 degrees.
After you’ve cut the legs properly, you’ll want to glue and nail them to the bottom of the table and the installed braces. Be careful as you go throughout this step.
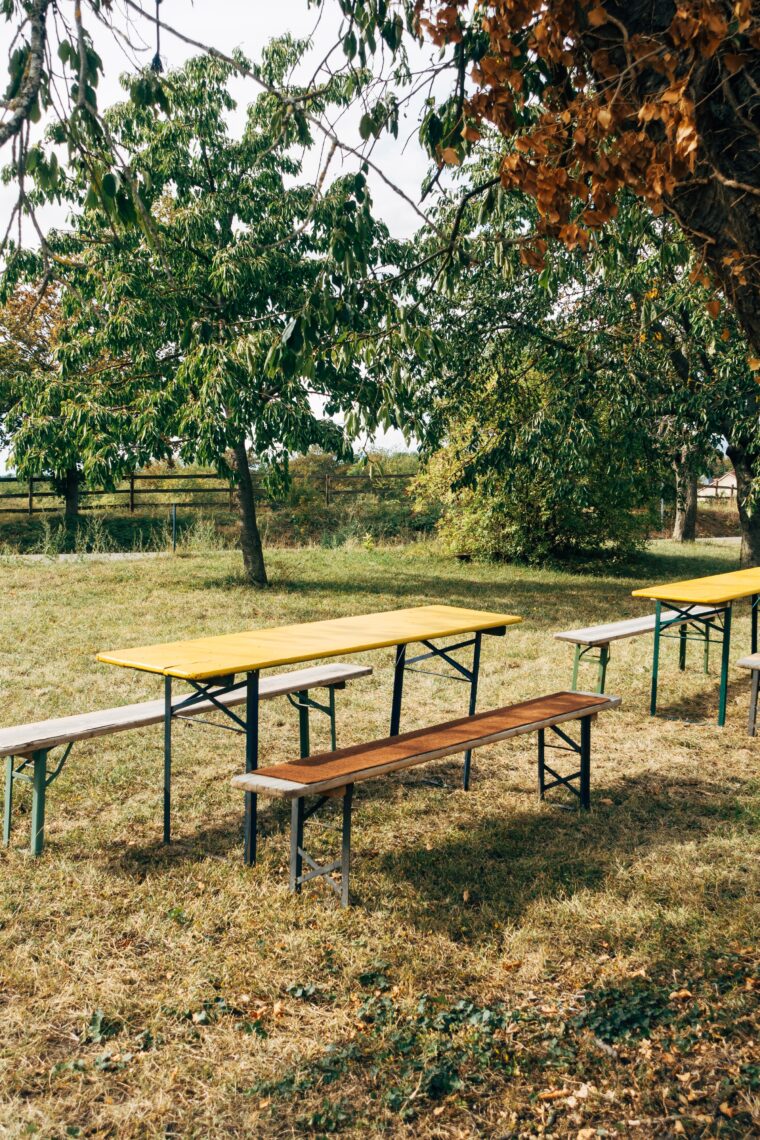
Building the Benches
Next, you’ll have the benches. These are similar in build to the table, with the only difference being that you’ll only have one 2x6 board instead of seven. Take the remaining two 2x6 boards and lay them out. Then place a 2x4 cut on each side of the plank about eight inches in from the end. Use glue and nails to secure these pieces well.
You’ll then want to take your remaining 2x4 boards and cut eight pieces at roughly 24 inches. Ideally, you want your bench legs to be around ten to twelve inches shorter than your table.
Repeat the process for angling the legs, and you’ll be able to glue and nail the legs to the supports that we installed on the bench planks.
Staining and Finishing
You’ve likely already sanded down the wood if you’ve been following step by step. If you haven’t and you feel like you need to, be sure to do that now.
After that’s taken care of, you can start applying the stain or finish coat of your choice. No matter what you choose, make sure to put a clear coat finish over it to protect it from food spills and other natural wear and tear.
We hope you’ve enjoyed this simple explanation of how to build a reclaimed wood bench and table. It’s a great family-friendly project, as well as a way to keep yourself feeling handy while saving some money. If you need the reclaimed wood for the project, then be sure to reach out to us! We’d be happy to help you find the right wood for your project.
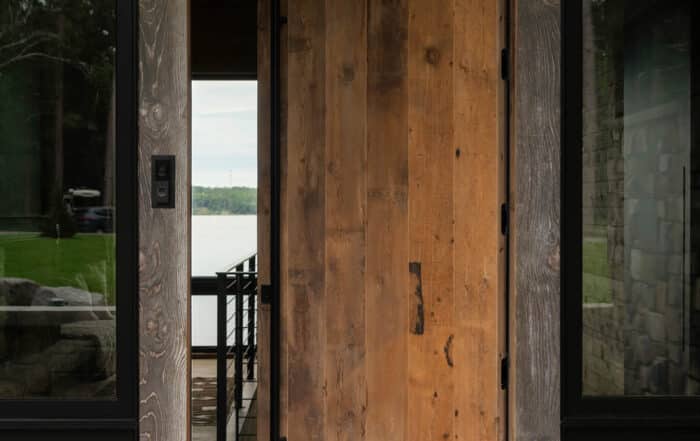


5 Custom Cut Wood Projects That Bring One-of-a-Kind Character to Your Home
Your home should feel like it belongs to you, not a showroom, not a catalog, and certainly not a copy of someone else’s space. One of the most meaningful ways to create that sense of individuality is through materials that carry both history and intention. That’s where custom […]
3 Tips for the Best Kitchen Flooring That Works With Your Cabinets
One of the most difficult parts of any remodel or home build is figuring out the color combination to make the best kitchen flooring match the cabinets in your home.
While yes, there are plenty of different styles and colors you can go with that all look great, you still want […]