How To Install A Barnwood Mantel (Design Tips + Pictures)
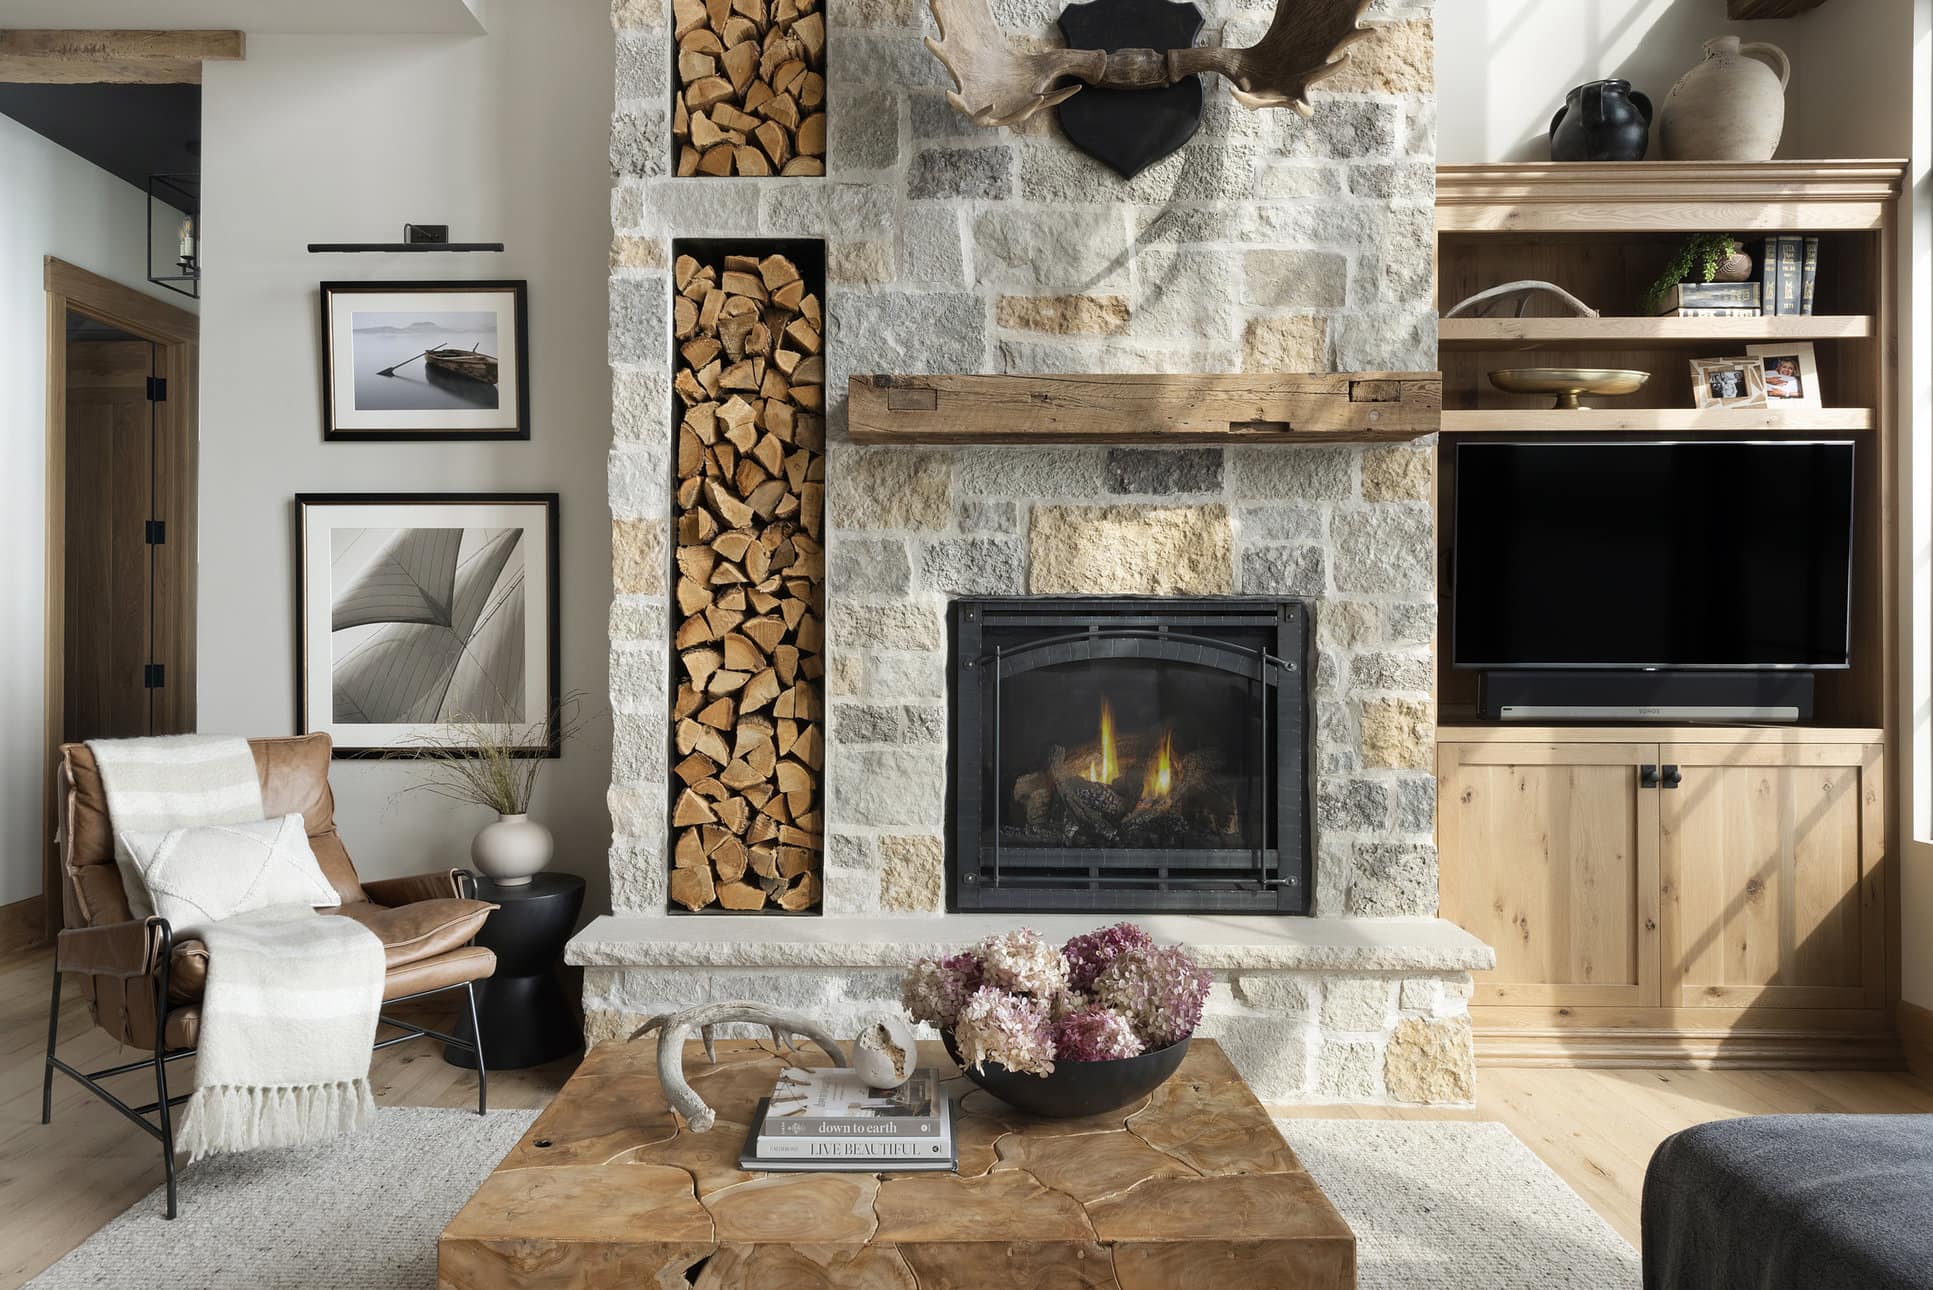
A unique Barnwood mantel is a perfect way to spruce up your space (no pun intended ?) by adding a stunning focal point that you can’t find at a big box home improvement store. Whether you add your reclaimed wood mantel above a fireplace, in your front entryway, or above your oven, it’s sure to add striking character to your home that your guests

By Sarah Londerville | Updated December 21, 2022
A unique Barnwood mantel is a perfect way to spruce up your space (no pun intended ?) by adding a stunning focal point that you can't find at a big box home improvement store. Whether you add your reclaimed wood mantel above a fireplace, in your front entryway, or above your oven, it's sure to add striking character to your home that your guests will be in awe of.
But you know that already because that's why you're here— ready to learn how to install it!
Even though reclaimed wood mantels can be heavy, you can still perform a DIY installation. Follow these 8 steps to install your own Barnwood mantel.
Step 1: Find the Perfect Reclaimed Barnwood Mantel
There's a big difference between reclaimed Barnwood and a cheap fiberboard slab you can buy at a home improvement store. Reclaimed wood has had an entire life and history before it makes its way into your home— and it's far more unique than anything you'll find at IKEA!

Reclaimed wood is often sourced from places like:
- Old barns
- Shipyards
- Factories and warehouses
- Railyards
Reclaimed wood is incredibly durable due to its old age. You can find it in a wide range of species and colors. You may even get lucky enough to find a piece with unique knots and wormholes that increase the vintage feel.
Since you can't find reclaimed wood mantels at any old home improvement store, you'll need to find a specialty retailer like Manomin Resawn Timbers. Our reclaimed wood goes through an extensive treatment process to ensure it's ready for your home. You can even visit our showroom to see your options in person!
Step 2: Remove the Old Mantel (If Necessary)
Once you've secured your beautiful reclaimed Barnwood mantel, you can start focusing on where you'll place it in your home. You always have the option to hire a professional to perform the installation for you, but this is certainly a DIY task that handy homeowners can take on.
If you have an existing mantel, you'll need to remove it. This can be as simple as swinging a sledgehammer several times to loosen the mantel from its place. Then, remove old nails or other hardware.
Step 3: Gather the Tools You'll Need
In this particular method of installing a hanging or "floating" barn wood mantel, you'll only need a few supplies:
- Mantel bracket with rods
- French cleat
- 2x4 mount
- Level
- Drill and nails
- Wood spade drill bit
- Construction adhesive
- Hammer
Step 4: Center and Level the Bracket
Perhaps the most important step is ensuring your fireplace mantel is leveled and centered.
- Measure your mantel and the area you're placing it over.
- Place painter's tape to mark where the ends of the mantel will lay.
- Then, find and mark the center where you'll place your bracket.
- Use a level to ensure the bracket isn't lopsided, and drill the bracket directly into your wall studs.
Make sure the bracket you purchase is the appropriate size for your mantel. Fireplace mantels can be heavy, so weigh your mantel first and check how much weight the bracket can hold before installing it.
Step 5: Use a 2x4 to Make a Drilling Template
This next tip we gleaned from Grace in My Space because we think it's pretty smart! Since reclaimed Barnwood mantels can be heavy, you'll quickly tire out from holding the beam up to the bracket to mark where the holes should be drilled.
Instead, you can place a 2x4 beam on your bracket and trace the rod holes. Make sure to center the bracket on your 2x4! Use your wood spade drill bit to drill through the holes on your template so you can trace them on your mantel.

Step 6: Drill Holes for the Rods in the Mantel
Then, place your template over your Barnwood mantel and level it. Be sure to measure accurately, especially if the 2x4 is a different length than your mantel.
Draw the holes onto your mantel and use the same wood spade drill bit slightly larger than your bracket rods. You want to be able to slide your mantel onto the rods, but you don't want the holes to be too big that the mantel isn't secure against your wall.
Step 7: Place the Mantel on the Bracket
Next, you'll slide your mantel onto the bracket rods. You can add construction adhesive to the homes beforehand for extra durability. Once the mantel is placed on the rods (this will likely be a slow and steady process!), place your 2x4 over the front and use a hammer (no nails) to hammer the mantel, so it sits flush with the wall. The 2x4 will protect the actual mantel from getting damaged by the hammer.
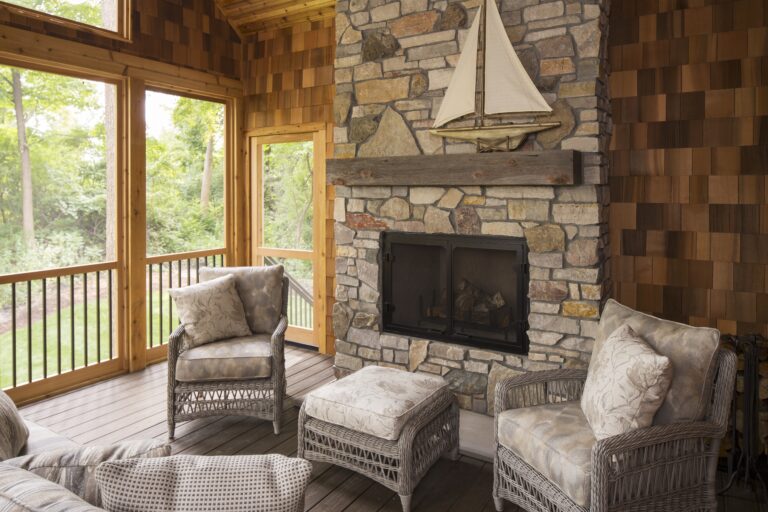
Step 8: Admire Your New Focal Piece!
Now, step back and admire your beautiful new fireplace mantel! If you're satisfied with the final result, you can add a stylish decor to complete the design. Check out 30+ creative mantel designs here!
Start With a Stunning Mantel From MR Timbers
And there you have it! We hope this DIY guide helps you install a fantastic reclaimed barn beam in your home. When you're ready to begin this project, reach out to the MR Timbers team to explore your options for a beautiful rustic Barnwood mantel. Simply use our online form to request a free quote!


The Best Wood Flooring: 5 Reasons to Choose Reclaimed Wood
There’s a certain feeling you get when you walk into a home that instantly feels warm, grounded, and real. Not staged. Not overly polished. Just right. Often, that feeling starts underfoot.
Reclaimed wood flooring has a way of making a space feel lived-in from day one, […]
